Why Your Etsy Photos Look Cheap (and the 10-Minute Fix That Actually Works)
The gap between "fine" and "premium" on a marketplace listing comes down to pixel quality, not styling. Here's the workflow that closes it without a reshoot.
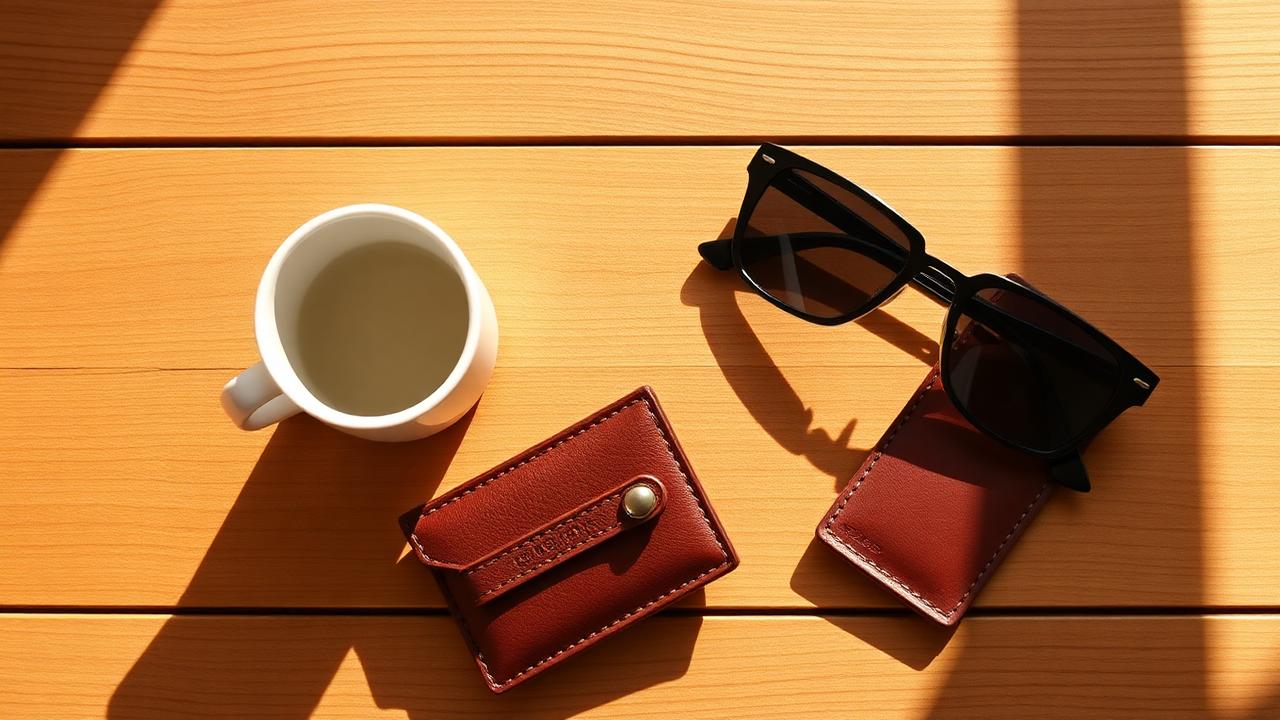
You spent a weekend dialing in the product. The packaging looks great. The listing copy is sharp. And then you scroll your own shop on a friend's phone and something feels off — the photos look fine, but they don't look premium. They look like you took them on a Tuesday night between dinner and laundry.
That gap between "fine" and "this brand is legit" almost always comes down to image quality. Not lighting tricks, not props — just clean, sharp pixels that hold up when Etsy's app crops, compresses, and re-renders your shots across a dozen screen sizes. Here's what's actually happening, and the small workflow that fixes it without buying a new camera.
Why "fine" photos look cheap on a marketplace
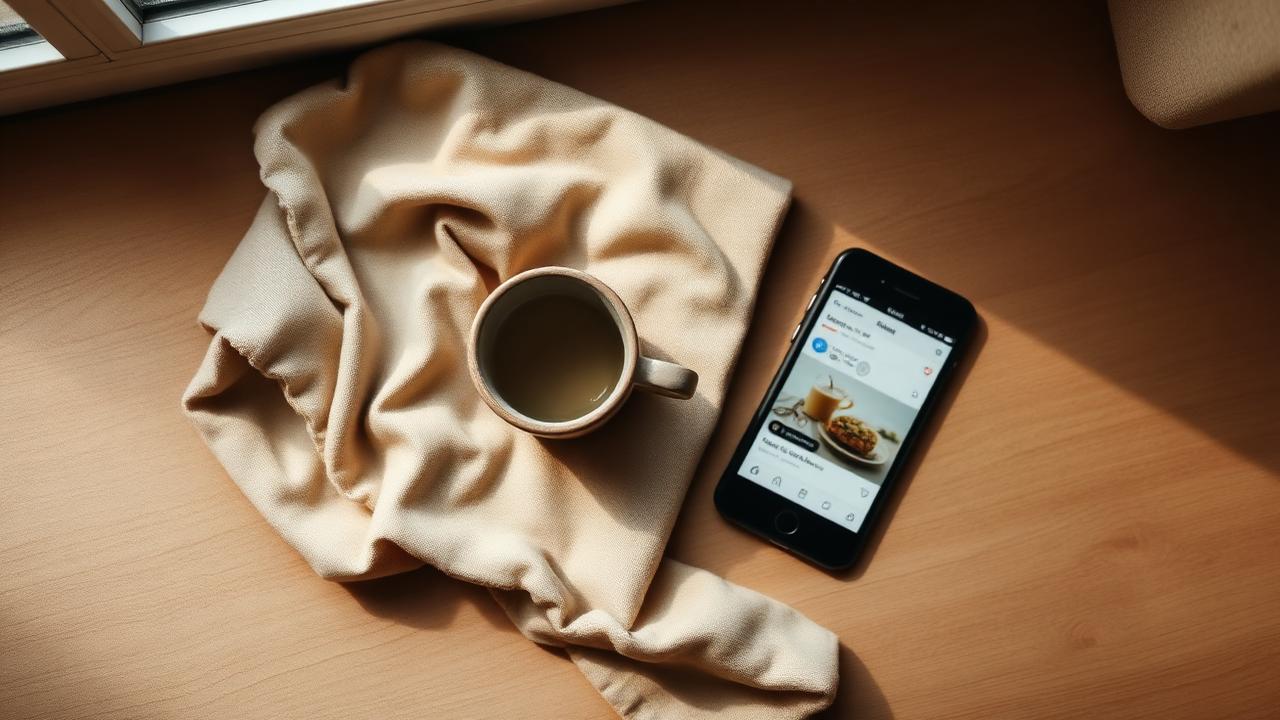
Etsy, Amazon Handmade, Faire, and Shopify all do the same thing: they take whatever you upload, generate a stack of resized variants, and serve a smaller one based on the shopper's device. That re-encoding pass is brutal on photos that were already a little soft, a little noisy, or shot at the wrong resolution. A photo that looks crisp on your laptop preview can come out muddy in the mobile thumbnail grid where 80% of buyers actually decide.
The most common culprits I see in audits:
- Phone shots taken in mixed light — your eyes correct for the warm kitchen bulb plus daylight from the window; the sensor doesn't, and noise reduction smears fine texture.
- Cropped-in zoom shots — that "detail" photo of the stitching was actually a 2x digital zoom, so it's a fraction of the resolution you think it is.
- Old hero images you re-uploaded when you refreshed the listing — they were 1500px when you shot them in 2022 and Etsy now wants closer to 2700px on the long edge.
The cheap-looking signals shoppers pick up in 0.4 seconds
Eye-tracking research on marketplace listings is depressingly consistent: shoppers don't read your title until after their gut decides whether the photo looks trustworthy. The signals that flag "amateur" are subtle and almost entirely about image fidelity, not styling:
- Soft edges on the product silhouette. If the outline of your mug, ring, or candle looks slightly fuzzy against the background, the brain registers "low effort."
- Texture that goes plasticky. Heavy in-camera noise reduction wipes out the grain in linen, wood, ceramic, and yarn — the exact textures buyers want to see on a handmade item.
- Color blotches in shadows. Cheap sensors and JPEG compression both produce these, and they read as "low quality" even when nothing else is wrong.
- Pixelation at the second zoom. When a buyer taps to zoom and your image breaks down, conversion drops measurably on the next session.
None of these require you to reshoot. They require sharper pixels. We've covered the bigger picture of what separates pro and amateur work in what most people get wrong about improving photo quality — worth reading after this if you keep landing on "good but not great."
The 10-minute workflow I'd run on every listing
This is the workflow I'd run before relaunching a shop, refreshing seasonal listings, or building a Black Friday push. It assumes you already have decent source photos — even slightly soft ones from a phone are fine.
1. Audit your top three sellers first
Open them on a phone, in app, in landscape, with the brightness lowered. That's how a buyer in bed actually sees them. Note any image where the product silhouette looks soft or the texture goes flat. Those are the ones costing you money.
2. Pull the original files, not the Etsy-resized ones
Always go back to the highest-resolution version you have. If you only have the marketplace version left, that's still workable — but the source matters because every generation of re-saving a JPEG sheds detail.
3. Upscale before you crop, not after
This is the part most sellers get backwards. If you crop a 2000px photo down to a 600px square detail shot and then upscale, you're asking the model to invent detail from very little. Upscale the full frame first, then crop into the upscaled version. The detail shots come out dramatically cleaner. We walk through this in more depth in the guide on zooming in without losing quality.
4. Run a sharpness pass, not a "fix it" pass
You don't want photos that look retouched — buyers smell it instantly and trust drops. You want the photo you already took, but with the edges and textures restored. The right tool for this is one that adds resolution and recovers texture without painting over the image. I keep our free upscaler open in a browser tab when I'm batching listings precisely because it doesn't try to "improve" the photo creatively — it just gives me back the detail compression ate.
5. Export at the marketplace's preferred long edge
For Etsy that's around 2700px. For Shopify product images, 2048px is the sweet spot for retina without bloating page weight. For Amazon, 2000px on the long edge keeps zoom enabled. Going bigger doesn't help; going smaller costs you the zoom feature.
The mobile-first reality check
Around 78% of Etsy traffic is mobile. That changes which images matter. Your hero shot has to survive being squeezed into a 350px-wide thumbnail and still read instantly. Your detail shots get viewed at full screen on a 6-inch display, where any softness is magnified, not hidden.
Two specific things to fix for mobile:
- Front-load the silhouette. Your product needs to occupy more of the frame than feels comfortable on desktop. Loose, "stylish" compositions disappear in the thumbnail grid.
- Sharper than feels right on desktop. Mobile screens have higher pixel density. A photo that looks slightly over-sharpened on your laptop will look perfect on a phone. This is exactly why batch-upscaling before upload pays off — the version going into the marketplace pipeline starts with more detail to lose.
If you're also pushing those product shots to Instagram and TikTok ads, the social platforms recompress even more aggressively than Etsy. The 2026 social media image size guide has the upload specs for each platform — same source file, different export sizes.
What about reshooting?
Sometimes that's the right answer. If your hero image is genuinely poorly lit, off-color, or composed wrong, no amount of upscaling fixes that. The same logic applies to listing photos as to listing-grade real estate photos — we broke down that decision in when to upscale and when to reshoot, and the framework transfers cleanly.
Quick test: if the photo has the right lighting, the right angle, and tells the right story but just looks soft — upscale. If any of those three are wrong, reshoot. Don't waste time enhancing a photo that's making the wrong promise.
The seasonal ramp playbook
If you're heading into Q4, Mother's Day, Father's Day, or wedding season, run a one-time pass over your entire active catalog. Not just the bestsellers — every listing that has any traffic. The reason is mechanical: ad platforms and Etsy's own search both reward listings that get higher click-through rates, and click-through is downstream of how good your thumbnail looks. One weekend of upscaling your back catalog can shift the whole shop's discoverability for the next 90 days.
I keep a simple checklist when I do this for clients:
- Run every hero through the upscaler at 2x.
- Reshoot the top three only if the audit flagged a composition or lighting problem.
- Re-export detail crops from the upscaled file, not from the original.
- Replace, don't add — Etsy's ranking gives weight to recently-edited listings.
For seasonal-specific photo work, the 4K product photo checklist for summer sales covers the export specs and ad sizes I use for the same campaign push.
What "premium" actually looks like at a pixel level
Strip out lighting and styling for a second. The photos that read as premium share three traits: clean edges, intact micro-texture, and even tone in the shadows. That's it. Those are achievable with a phone camera and a free upscaler — they're not achievable with a phone camera alone, because the on-device JPEG pipeline throws away exactly those three things to save space.
If you want a deeper dive on the tooling side — the difference between a true upscaler and the "enhance" buttons baked into photo apps — this comparison breaks it down. Short version: enhancers smooth, upscalers add resolution. You almost always want resolution.
Try it on your worst-performing listing first
Pick the listing in your shop with the lowest click-through rate that you still believe in. Don't change the title, don't change the price, don't change the tags. Just upscale the hero and the top three detail shots, re-export at the marketplace's preferred size, and replace. Give it 14 days. That's usually enough signal to see whether image quality was the bottleneck — and in my experience, on shops doing the basics right, it almost always is.
You can run a few photos through our upscaler without signing up to see the difference before you commit to a full catalog pass. Start with one hero, one detail. If the difference is obvious, do the rest. If it isn't, you've ruled out image quality and you can focus your attention somewhere else — which is also a win.