How to Zoom In on Photos Without Losing Quality
A practical guide to zooming into photos without quality loss. Understand digital zoom limits, cropping vs AI upscaling, and step-by-step phone and desktop workflows using ImageUpscales.
Want to zoom in on a photo without ending up with a blurry, pixelated mess? Whether you're cropping a phone shot to focus on a subject or enlarging a scan for print, preserving detail takes more than just zooming. This guide explains why digital zoom degrades images, how AI upscaling differs from simple cropping, and step-by-step workflows for phone and desktop so you can get crisp, natural results.
Try ImageUpscales free
Upscale your photos in seconds — sharp, natural results, no signup needed for your first try.
Upscale a photoWhy digital zoom degrades image quality
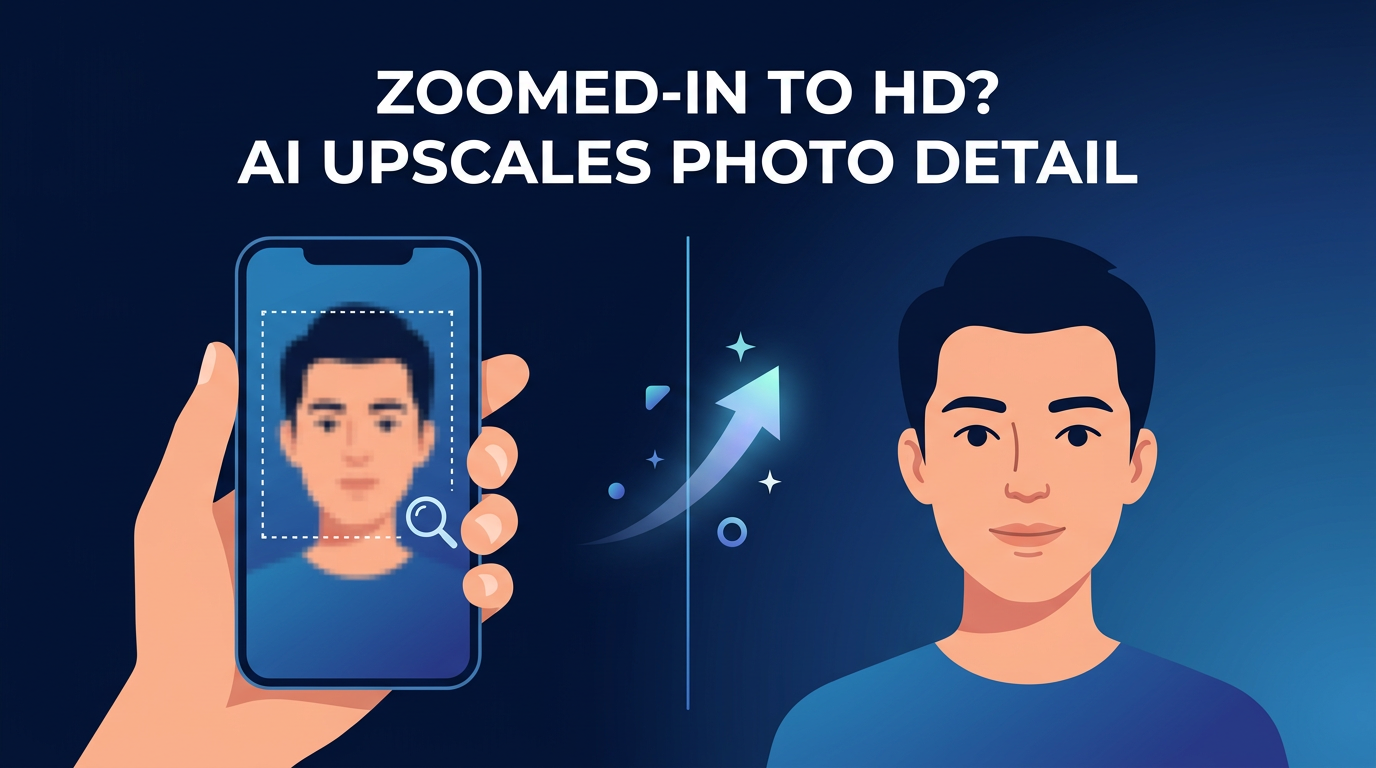
Digital zoom isn't magic — it simply crops and enlarges pixels. When the camera crops the image or your phone software stretches pixels to simulate a closer view, you lose actual detail because the sensor didn't capture more information. The result is softer edges, blocky pixels, and visible noise. Optical zoom (using the lens) preserves detail because it changes the light path and uses the full sensor resolution, but most phones either have limited optical zoom or rely heavily on digital zoom at long ranges.
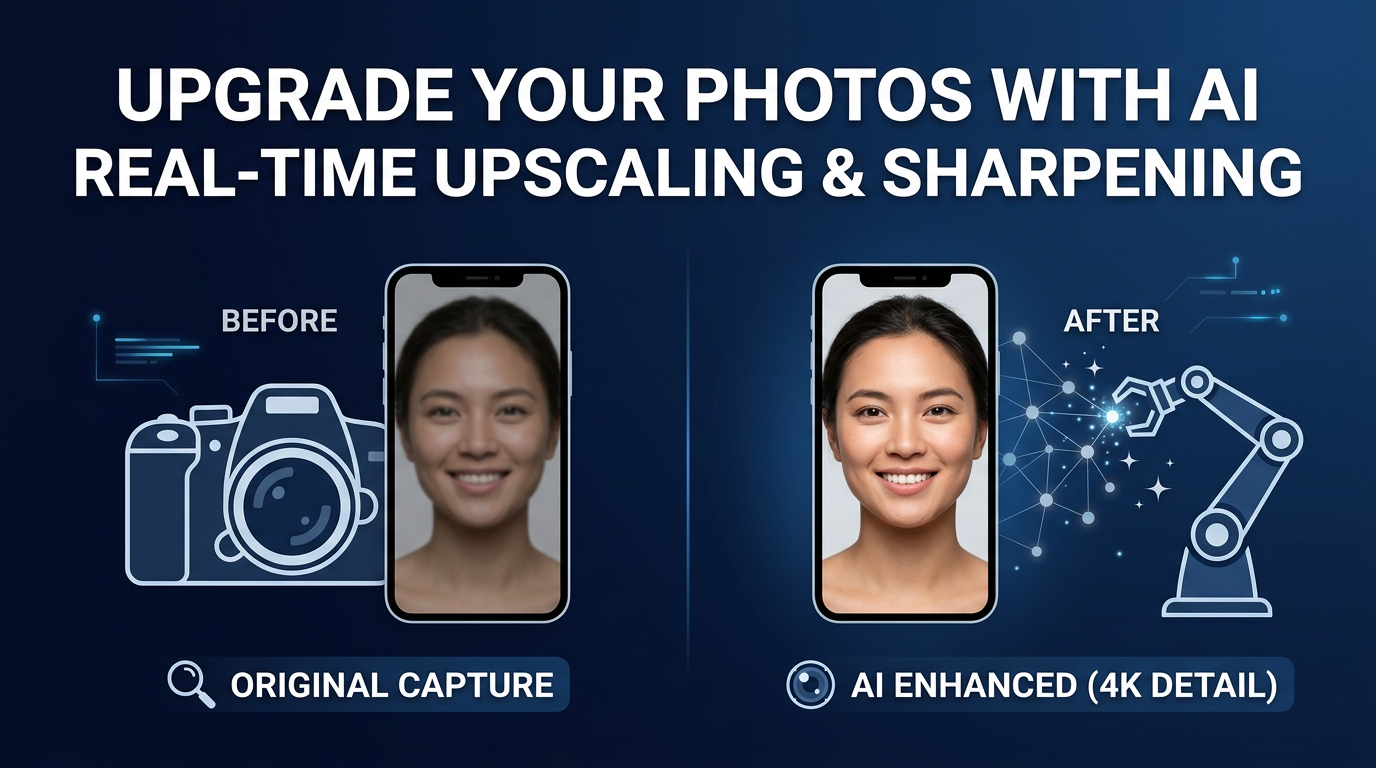
Cropping versus AI upscaling: what's the difference?
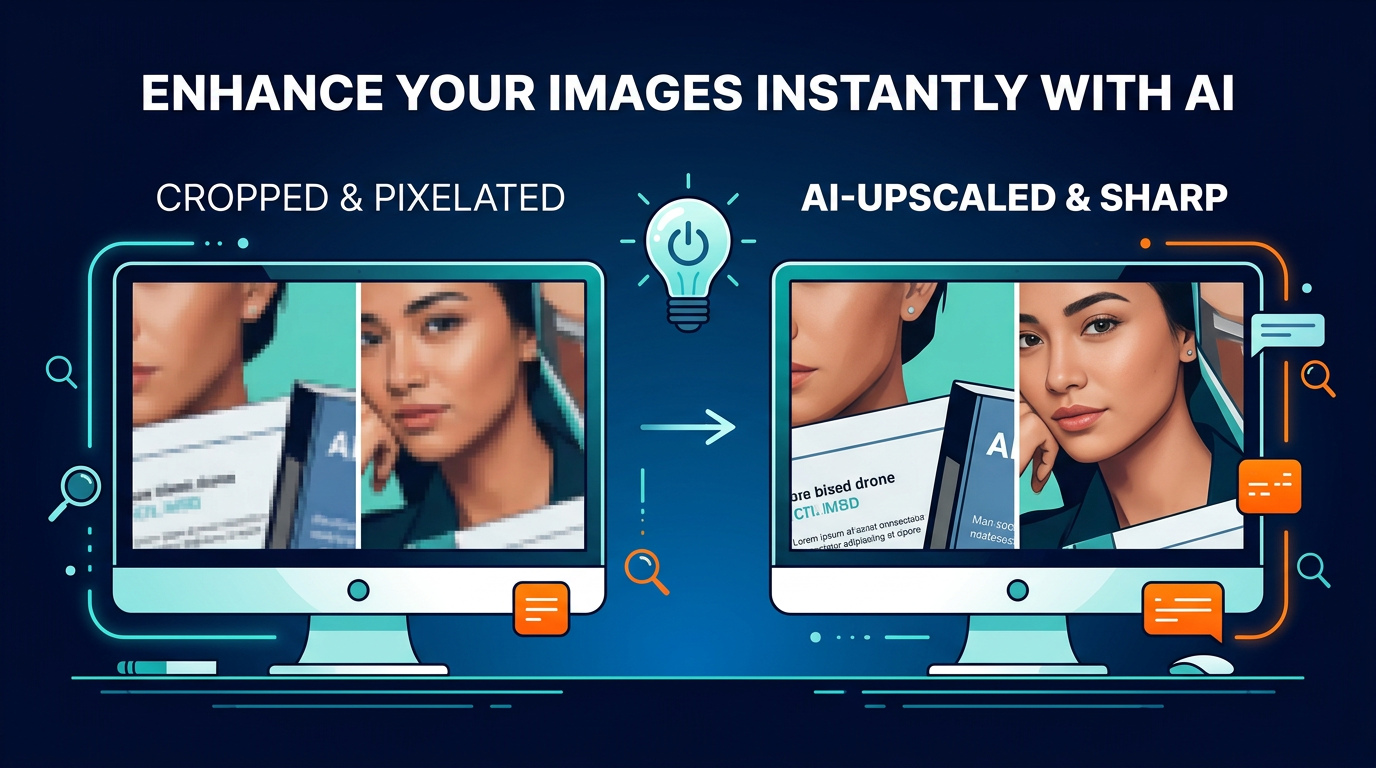
Cropping removes pixels. You keep the native quality of the cropped area, but any enlargement afterward will magnify imperfections and reduce sharpness. AI upscaling, by contrast, uses machine learning models to infer and reconstruct plausible detail when enlarging an image. Modern tools—like ImageUpscales—analyze patterns, textures, and edges to regenerate sharper, more natural-looking pixels rather than simply stretching what's already there.
Key differences:
- Preservation: Cropping preserves raw pixels; upscaling reconstructs new pixels.
- Result: Cropping + naive resizing = blur; AI upscaling = sharper, detailed results.
- Use cases: Crop to reframe; use AI upscaling to recover detail for prints, crops, or digital zoom recovery.
When to use ImageUpscales to recover detail
ImageUpscales is ideal when you need to reclaim crispness after a crop or digital zoom. Use it if:
- You cropped tightly and now need a larger, high-quality export (social posts, prints, or design work).
- You shot at a lower resolution or downloaded a small image and need a cleaner enlargement.
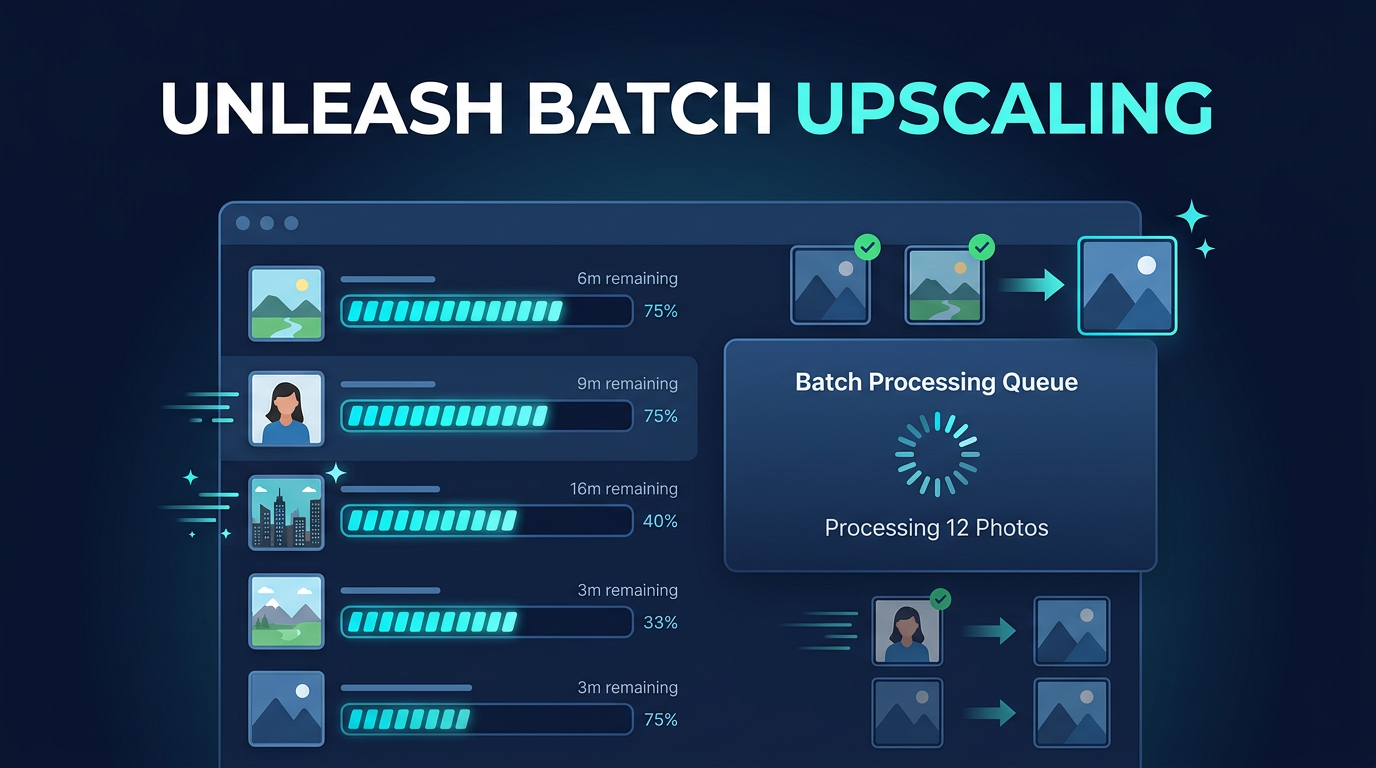
- You have many similar photos requiring the same fix—ImageUpscales' batch processing saves time.
ImageUpscales combines fast AI upscaling with batch processing and a focus on natural, sharp results, so you can upscale multiple images quickly without the over-sharpened artifacts some tools create.
Phone workflow: zoom and recover quality
Use this workflow when you shoot on a smartphone and need to enlarge or recover detail:
- Shoot smart: If possible, avoid extreme digital zoom. Use the highest resolution camera mode (e.g., 4:3 native resolution) and steady your phone or use a tripod.
- Crop for composition: Crop in your phone's editor only to reframe. Don’t enlarge inside the phone editor—export at original resolution after cropping if the app allows.
- Export or share the original: If you use apps that compress (like some social apps), export the original full-resolution image to your files or cloud.
- Open ImageUpscales: Upload the exported image to ImageUpscales. Choose an upscale factor (2x, 4x) depending on how much larger you need the image.
- Preview & tweak: Use the preview to check for natural sharpness and reduce noise if needed. ImageUpscales' fast AI upscaling makes this step quick so you can try settings in seconds.
- Download and finish: Download the upscaled file and do final touch-ups in your phone editor if desired (minor contrast or color tweaks).
Desktop workflow: more control for large enlargements
For photographers or designers working on desktop, this workflow adds more precision:
- Work from originals: Import RAW or the highest-resolution JPEG to your editor (Lightroom, Capture One, or Photoshop).
- Crop in the editor: Reframe using non-destructive cropping so you can adjust later. Note the pixel dimensions of the cropped area to decide upscale amount.
- Export the cropped file: Export at maximum quality without added sharpening—let ImageUpscales handle the reconstruction.
- Batch if needed: If you have many cropped files from the same shoot, upload them all to ImageUpscales and use batch processing to save time. ImageUpscales' batch feature is built for speed and consistent, natural results.
- Choose settings: Select the upscale factor and optional denoise or artifact removal. Preview the results and adjust until you're satisfied.
- Finalize in your editor: Bring the upscaled images back into Photoshop or Lightroom for final color grading, sharpening (if necessary), and output sizing for web or print.
Practical tips for best results
- Always start with the highest-quality original available.
- Avoid repeated resaves in compressed formats (JPEG quality loss).
- Use modest upscale factors when possible—2x or 4x usually hits the sweet spot for quality vs. computation.
- When batch processing, test one image first to dial in settings; then apply to the full set.
- Let ImageUpscales do the heavy lifting: its fast AI produces sharp, natural-looking results without over-processed artifacts.
Frequently Asked Questions
Q: Will AI upscaling create real detail that wasn’t captured?
A: AI upscaling reconstructs plausible detail based on learned patterns—it doesn’t literally recover lost sensor data, but modern algorithms produce convincing, natural-looking detail that’s suitable for most print and digital uses.
Q: Is it better to crop first or upscale first?
A: Crop first to frame the subject, then upscale. Cropping decides composition and reduces the area the AI needs to process, often improving results and speed.
Q: How much can I safely upscale before artifacts appear?
A: That depends on the image and the model. Common practice is 2x–4x for most photos. When you need extreme enlargements, upscale in steps and check previews. ImageUpscales' fast previews help you find the limit quickly.
Q: Can I batch upscale hundreds of photos?
A: Yes. ImageUpscales supports batch processing so you can upscale many images with consistent settings, saving manual time and maintaining uniform quality across a shoot.
Q: Will upscaling remove noise?
A: Many AI upscalers include denoise controls. ImageUpscales offers noise reduction options alongside upscaling so you can clean grainy images while preserving detail.
Conclusion
Zooming without losing quality is about making smart choices: avoid excessive digital zoom when shooting, crop thoughtfully, and use AI upscaling to reconstruct detail when you need larger outputs. ImageUpscales makes this practical with fast AI upscaling, batch processing, and natural-looking results—so you can rescue cropped or zoomed images quickly and reliably. Try the workflow above to turn pixelated crops into sharp, usable images for web, print, and sharing.