How to Create Studio-Quality Product Images with AI
A step-by-step guide for small ecommerce sellers to create clean, sharp, studio-style product photos using phone shots and AI tools like ImageUpscales—without the studio bill.
Professional-looking product photos sell. But renting a studio, hiring a photographer, and buying expensive lights can eat your margins.
With a smart workflow and AI tools you can create studio-quality product images AI buyers trust—using just your phone and affordable software. Below is a practical, step-by-step guide for Etsy sellers, makers, and small ecommerce shops.
What makes a photo look "studio quality"?
Before you start, it's useful to know the visual cues buyers associate with studio-grade images:
- Clean, even lighting with minimal harsh shadows
- Controlled, distraction-free background (often pure white)
- Sharp detail—textures and edges are crisp
- Accurate colors that match the product in real life
- Consistent framing and scale across product shots
Why traditional studios are costly
Studio time, gear, and a skilled photographer add up. Even a single product shoot can cost hundreds, and ongoing product catalogs quickly multiply expenses. For small sellers, that cost barrier means fewer images, lower conversion rates, and limited marketing options.
The AI workflow: create studio-quality images without a studio
This workflow blends good basic shooting with AI-powered cleanup and enhancement. You don't need perfect photos to start—just follow these practical steps.
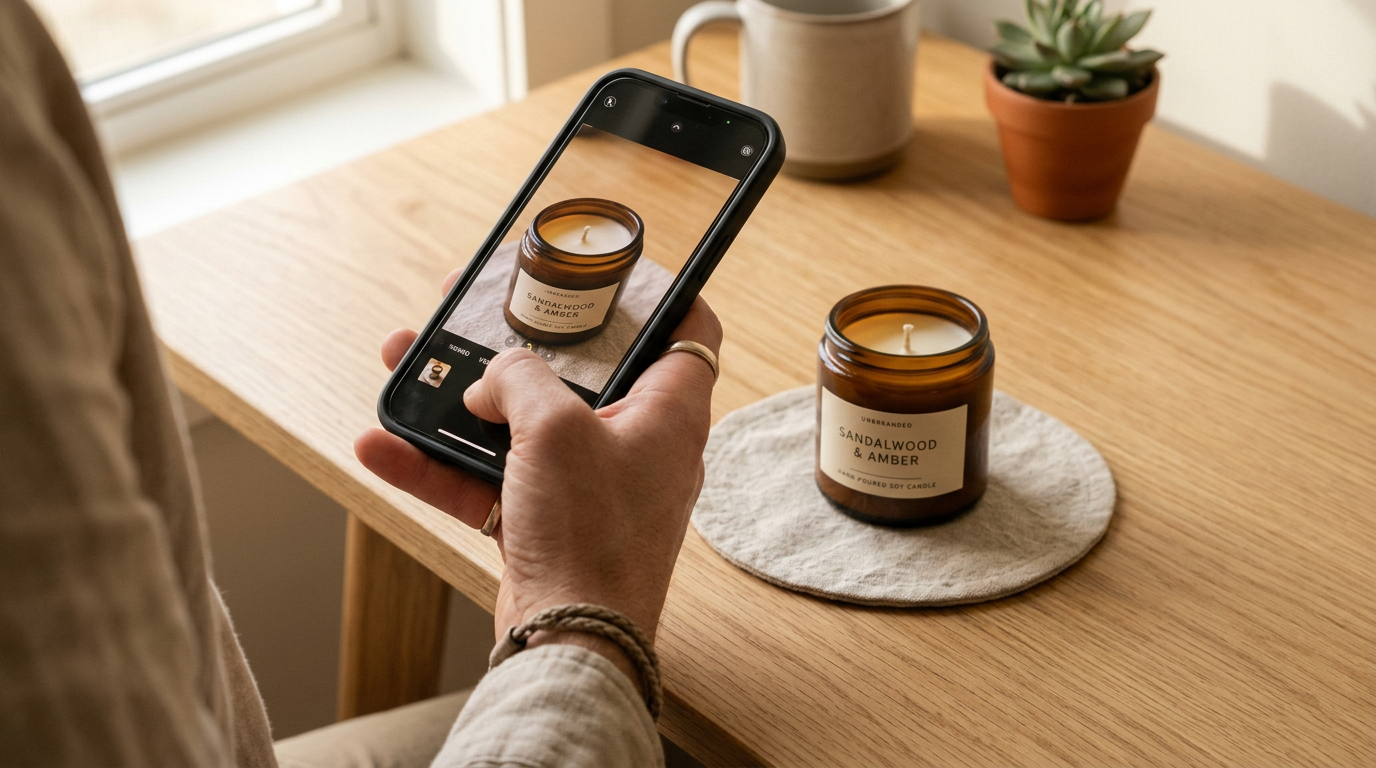
1. Shoot a solid base photo with your phone
Aim for clean composition and consistent angles. Tips:
- Use a neutral surface and a makeshift light source (window + diffuser or an inexpensive softbox)
- Shoot multiple angles: front, side, top, and a close-up of texture
- Keep the phone steady—use a small tripod or stack of books
- Shoot in the highest resolution available and avoid digital zoom
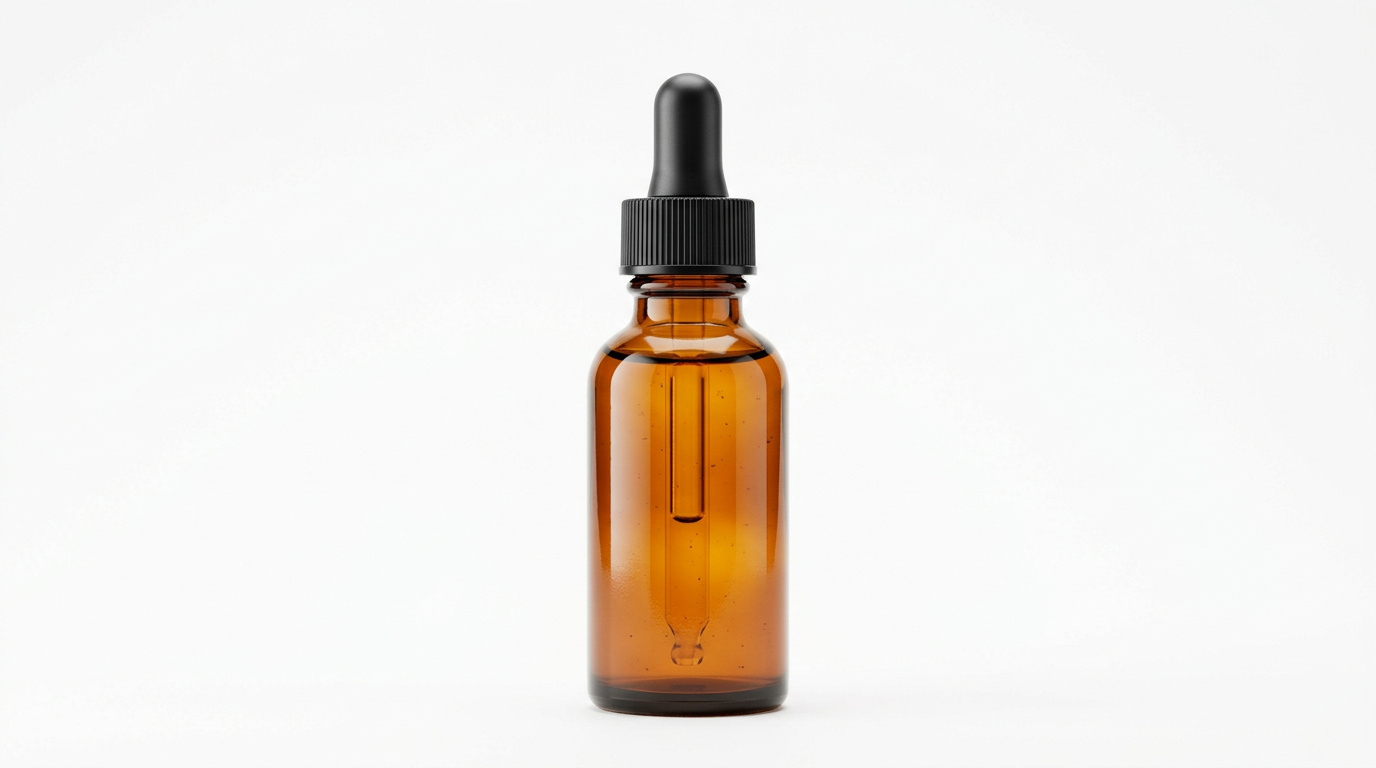
2. Remove or replace the background
Background-removal AI quickly isolates your product and creates a clean white backdrop or a subtle studio shadow. Many tools do a great job with predictable items (bottles, sneakers, jewelry). Use this step to get that distraction-free look buyers expect.
3. Upscale and sharpen with ImageUpscales
This is where ImageUpscales shines. After removing the background, upload your image to ImageUpscales to:
- Upscale low-res phone photos to print-ready resolutions (2x or 4x) without softening edges
- Recover texture and detail—especially useful for fabric, leather, and embossed logos
- Clean up compression artifacts and reduce noise while keeping natural texture
Use the "product" preset on ImageUpscales for balanced sharpening and detail recovery tailored to ecommerce shots. For print labels or large banners, upscale to 300 DPI or the recommended pixel dimensions for your print vendor.
4. Color-correct and match product tones
Accurate color prevents returns and unhappy customers. Use a simple color-correction tool or Lightroom to adjust white balance, exposure, and saturation. If you sell multiple SKUs, create a reference image or swatch to keep colors consistent across listings.
5. Final polish: shadows, reflections, and export settings
Add a subtle ground shadow or reflection to keep the product from looking 'cut out.' Export JPGs for web listings (sRGB) and PNG or TIFF for assets that need transparency or print. Keep master files at full resolution in case you need them later.
Preset recommendations
For most ecommerce needs, start with these ImageUpscales settings:
- Preset: product — for balanced sharpening and color fidelity
- Scale: 2x for web, 4x for large prints or banners
- Noise reduction: medium for indoor phone shots, low for well-lit images
- Output format: JPG sRGB for listings, TIFF for print masters
Before and after: realistic expectations
AI can dramatically improve decent photos—clean backgrounds, restore detail, and make images look professionally finished. However, AI won't fully recover a heavily blurred or extremely underexposed photo. Think of ImageUpscales and other AI tools as multipliers: they amplify good photography, but they can't replace the fundamentals entirely.
Where AI helps — and where lighting still matters
AI excels at:
- Removing backgrounds and adding consistent white or styled backdrops
- Upscaling, sharpening, and denoising while preserving texture
- Batch-processing dozens of SKUs quickly and consistently
But lighting and composition still matter for:
- Capturing true color and realistic material rendering
- Preventing specular highlights and blown-out details on shiny products
- Creating nuanced shadows and depth that AI may struggle to generate naturally
Frequently Asked Questions
Q: Can AI make any phone photo look professional?
A: Not every photo. AI tools do best with images that have reasonable exposure and framing. Very blurry, severely underexposed, or tightly cropped photos will see limited improvement.
Q: What file format should I upload to ImageUpscales?
A: Upload your highest-quality file—preferably the original JPEG or PNG from your phone. For best print results, use TIFF or a high-quality PNG where supported.
Q: How much does upscaling add to my workflow time?
A: Upscaling with ImageUpscales is fast—often just seconds per image depending on size. Batch processing keeps your workflow efficient when you have many SKUs.
Q: Will upscaling change my product colors?
A: ImageUpscales focuses on preserving color accuracy while enhancing detail. Always check final images on a color-calibrated screen and make small color-correction tweaks if needed.
Q: Is AI suitable for jewelry or reflective items?
A: Jewelry and reflective products are more challenging. AI can help with background removal and sharpening, but careful lighting or a light tent during shooting greatly improves results.
Conclusion
Creating studio-quality product images with AI is now within reach for small sellers. Combine thoughtful phone shooting, smart background removal, and detail-preserving upscaling with ImageUpscales to produce clean, high-converting photos without a traditional studio.
Related guides from ImageUpscales
Frequently asked questions
Can a phone really replace a studio?
For most ecommerce SKUs, yes. A modern phone in even daylight, paired with a careful upscale, produces images that hold up against most studio shoots — for a fraction of the cost. The exceptions are highly reflective products, intricate jewelry, and anything where color accuracy is mission-critical.
How many photos per SKU do I need?
Three to five is a strong baseline: a clean front, a 3/4 angle, a detail shot, a scale or in-context shot, and an optional lifestyle shot. Each should be upscaled to a 4K master.
How long does this take?
About fifteen minutes per SKU once your workflow is set: shoot, upscale, audit, save. The first SKU will take longer while you find your light. After that, it is repeatable.
A small-seller workflow
- Shoot near a north-facing window for soft, even light.
- Use a plain backdrop — paper or fabric, not a busy surface.
- Capture three to five angles per SKU.
- Upscale to 4K, audit at 100%.
- Save a master per angle and let your platform derive the rest.