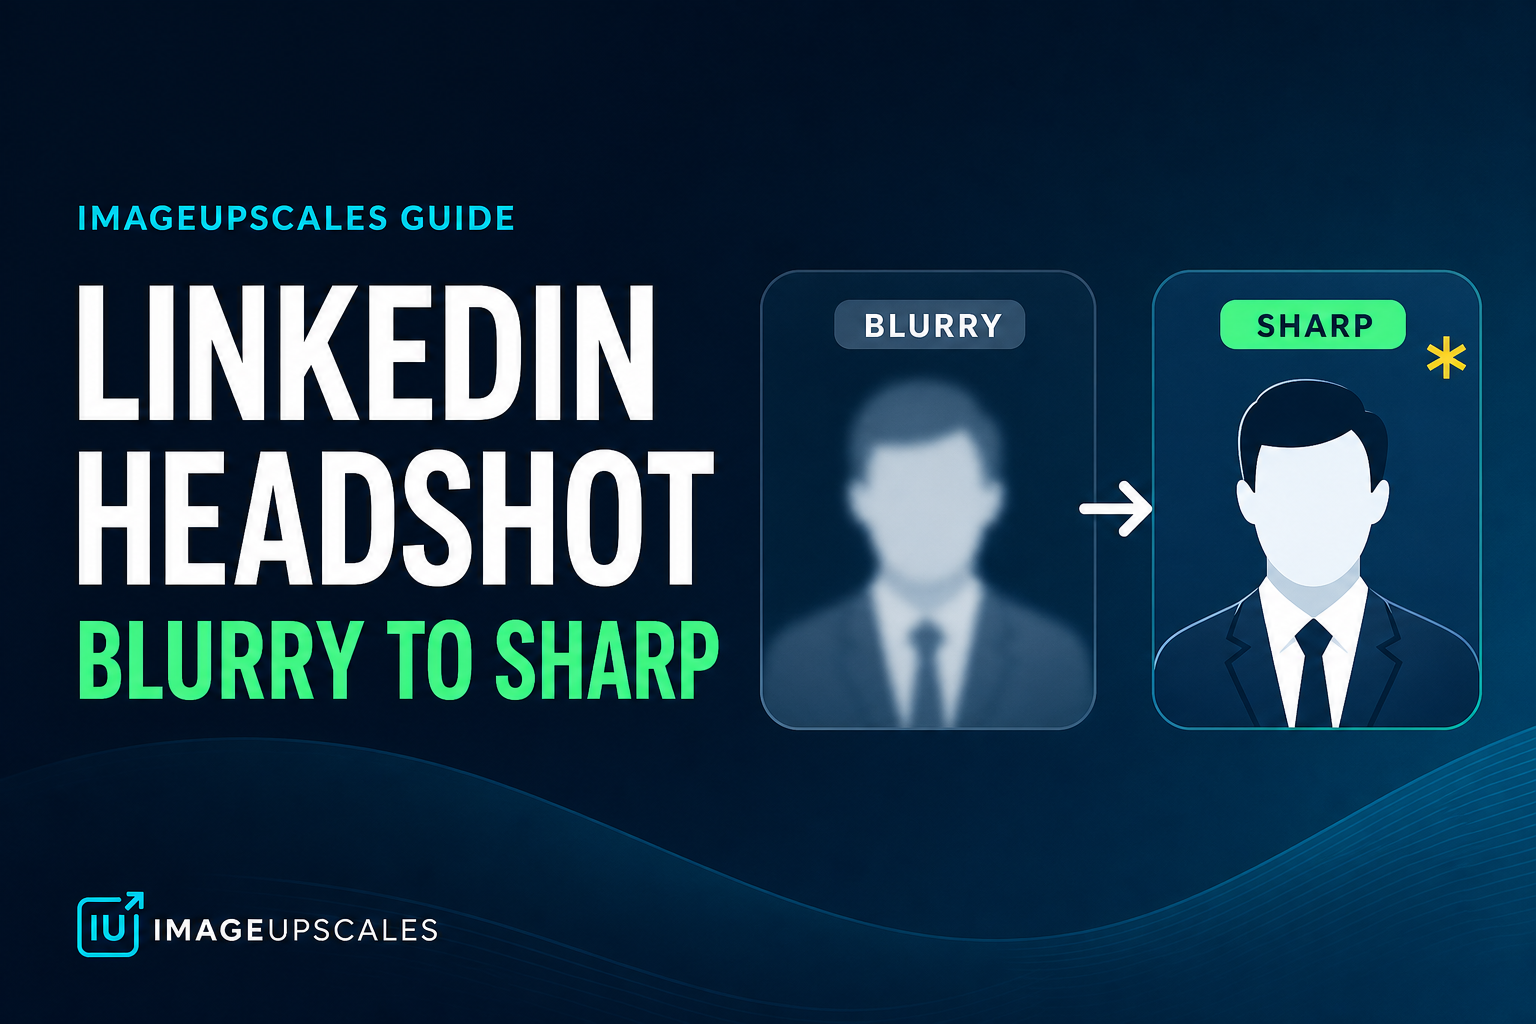
Why Your Old iPhone Photos Look Rough on Your New Phone (and How to Quietly Fix Them)
Your old photos didn't get worse — your screen got better. Here's what's actually happening and the 5-minute fix that doesn't make faces look retouched.
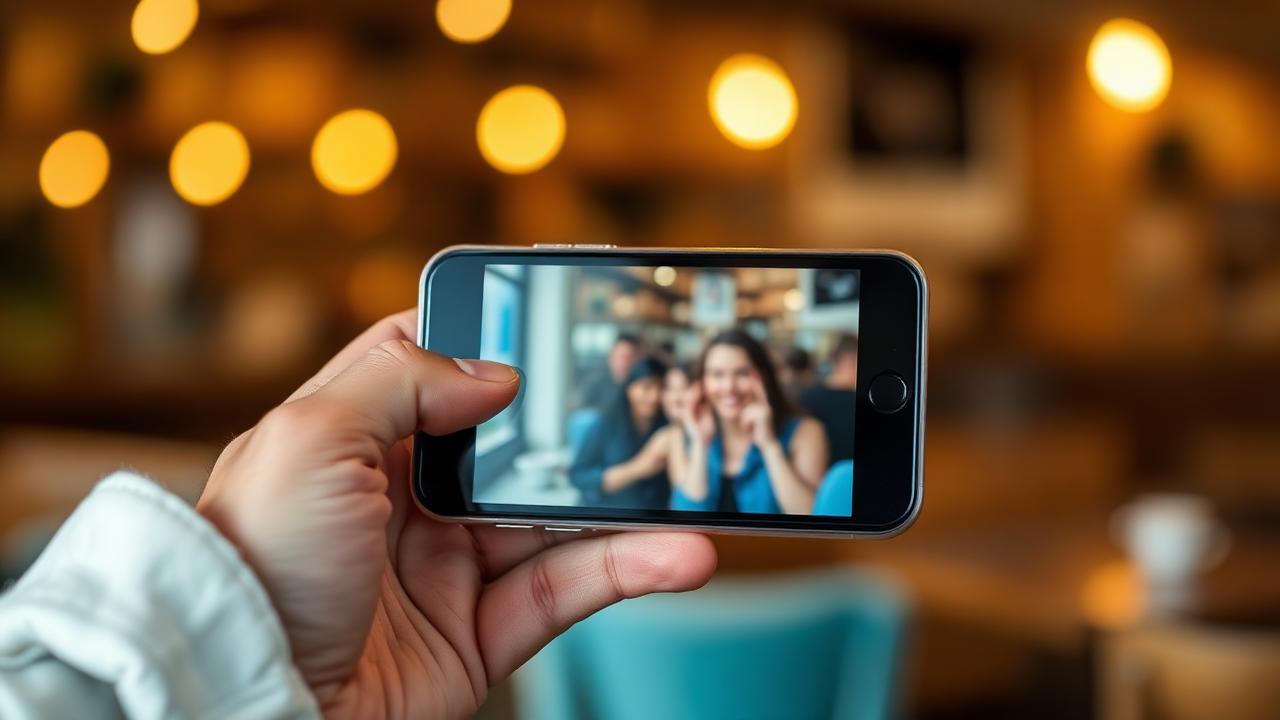
You opened your camera roll on the new phone, scrolled back two years, and felt that little drop in your stomach. The photos are there, you remember the trip, you remember the night — but they look like they came off a different, lesser device. Soft. Slightly grainy. The faces a touch blurry. Not bad enough to delete. Just bad enough that you don't post them.
This is one of the most common photo problems of the decade and almost nobody talks about it honestly. Your old photos didn't get worse. Your screen got better. Here's what's actually happening, and how to claw those memories back into something postable without making them look fake.
Why old phone photos look worse on a new phone
Three things are working against you simultaneously, and they compound:
1. Display density doubled. The iPhone 11 era had around 326 ppi. The current Pro models push past 460 ppi. A photo shot at the resolution of the older sensor was perfectly matched to the older screen — it looked sharp because the pixels lined up. On a denser screen the same photo gets stretched across more physical pixels, and the softness that was always there becomes visible.
2. The on-device JPEG pipeline got more aggressive. Modern phones use heavier computational photography — multi-frame stacking, smarter noise reduction, deeper sharpening. When you view an old photo on a new phone, the photos app doesn't reprocess it; you're seeing the old, less sophisticated processing pass on a screen calibrated to expect the new one. The contrast feels muddy.
3. iOS and Android both compressed photos quietly in the background for years to save iCloud and Google Photos space. "Optimize storage" replaces your full-res original with a smaller cloud-fetched version on demand, and the round trips cost detail every time. Many people are looking at the third or fourth generation of their own photo without realizing it.
None of this is your fault. None of it is the photo's fault. It's a mismatch between when the photo was taken and how it's being displayed now.
The "fake-looking enhancement" trap
Most people's first move is to open the photo app's "Enhance" button or one of those one-tap apps. Don't. They almost always make old photos worse — not technically, but emotionally. They smooth skin into wax, they boost saturation until everyone looks sunburned, they sharpen edges until eyebrows look drawn on. The photo loses the thing that made it worth keeping.
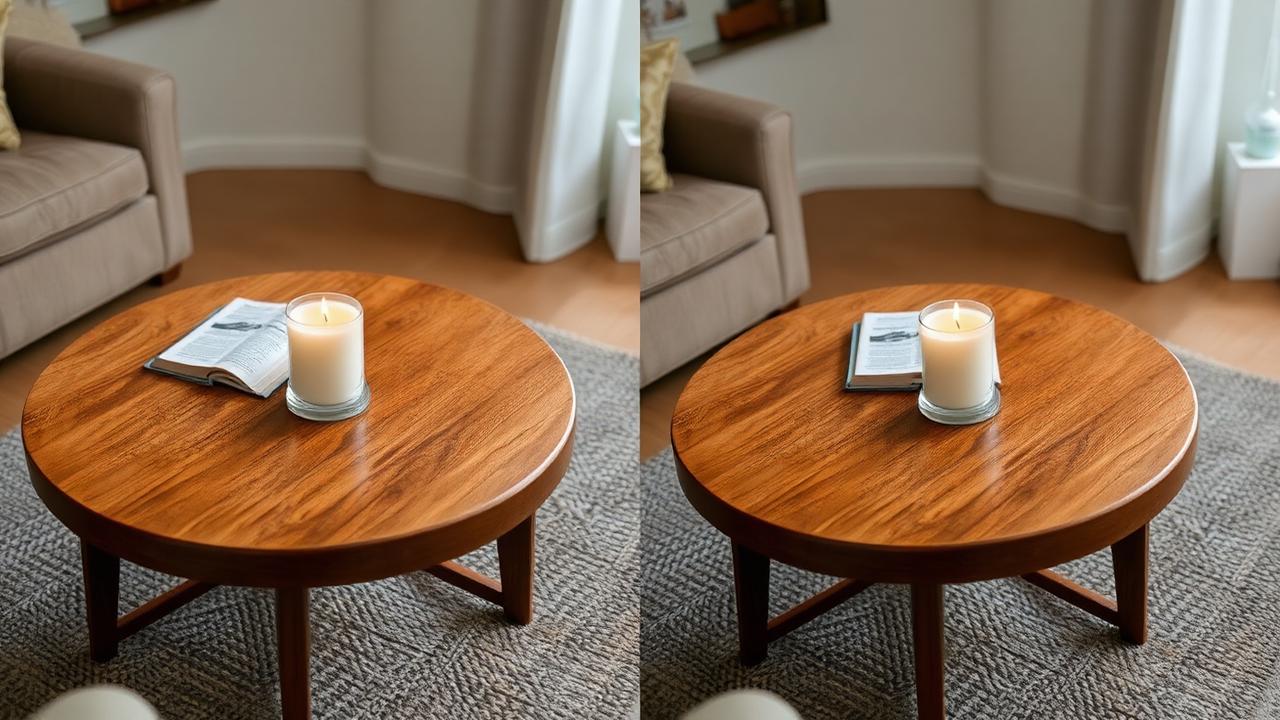
The honest fix is more boring and more effective: add resolution back without changing the image's character. That's the difference between an upscaler and an enhancer. We covered the technical split in AI image upscaler vs photo enhancer, but for old phone photos the practical answer is almost always: upscale, don't enhance.
The 5-minute fix that doesn't make photos look retouched
Step 1: Get the original file off your phone
This part matters. Open the photo, hit share, choose "Save to Files" or AirDrop it to your laptop. The version that lives in iCloud and the version your camera roll shows you are not always the same file — and the cloud-optimized version has less data to work with.
If you're on Android, do the same with Google Photos: open the photo, three-dot menu, download. The downloaded copy is closer to the original capture than what the gallery app displays.
Step 2: Don't crop yet
This is the rule that catches everyone. If you want a tighter frame for Instagram, fight the urge to crop in your phone first. You'll throw away resolution you can't get back. Upscale the full image, then crop. The crops come out dramatically sharper. We made the case in detail for why you should zoom after upscaling, not before.
Step 3: Run it through an upscaler that doesn't "beautify"
You want a tool that sees the photo as raw pixel data, not as a face it should improve. The good ones are quiet — they reconstruct hair, fabric, edges, and texture without smoothing skin or shifting color. The bad ones make everyone look 22 years old and slightly Photoshopped. I keep our upscaler open in a browser tab specifically because it doesn't try to flatter the photo. It just gives back the detail the compression took.
Step 4: Compare side by side at the destination size
If you're posting to Instagram, view the upscaled version at Instagram's display size before deciding whether you like it. A photo that looks slightly over-detailed full-screen on your laptop looks perfect at the smaller Instagram display, because the platform's compression pass eats some of that detail back. The 2026 social media size guide has the actual display dimensions for each platform — useful as a final check before posting.
Step 5: Save, don't replace
Keep your original. Always. Save the upscaled version as a new file. Memories don't get a second chance — if a future tool does an even better job in two years, you want the original to feed into it.
The "Mom is going to print this" test
Here's the test I use to know whether a photo is fully recovered. Imagine your mom asking for a 5x7 print to put on the fridge. Open the upscaled file at print resolution and ask: would I be embarrassed by this on her fridge?
If the eyes are sharp, the skin texture is intact, and the background isn't a smear — yes, send it. If anything looks plasticky, you over-enhanced. Roll back to a less aggressive pass. The same logic shows up in restoration work, which we walked through in how to restore old family photos with AI — the techniques transfer cleanly to old phone photos, since both are really "low-data source, modern display."
What about live photos and screenshots?
Live Photos: extract the still frame first (long-press, "Save as photo"), then upscale. Don't try to upscale the moving version — most tools won't process it well.
Screenshots of photos (you screenshotted a friend's Story or a text message): these are the toughest because they've been compressed twice. They'll improve a lot from upscaling, but the text in them will get weirdly crisp while the photo content stays soft. Plan around that.
If the original photo was already heavily blurred — motion blur from movement, not just softness — that's a different problem. We covered the realistic limits in how to unblur an image with AI. Short version: AI is good at adding resolution to a slightly soft photo, less good at reconstructing motion that wasn't captured.
Doing this for someone else (parents, partner, grandparents)
This is the gift nobody asks for and everyone loves. Pick a parent's camera roll. Find the 30 photos they've actually shown you over the years — the ones they framed in their head as memories. Upscale all of them. Make a small print book through one of the on-demand services. The cost is a Saturday and about $30. The reaction is wildly out of proportion to the effort.
The same playbook works for milestone moments — graduations, weddings, anniversaries. We've written specific versions of this for graduation photos and wedding guest photos, but the core move is the same: get the highest-resolution source, upscale before any cropping or color work, save as a new file, print.
What you can't fix (and how to know quickly)
Some photos really are gone. Three signs the photo is past saving:
- The faces are smaller than about 80x80 pixels in the original. There just isn't enough information for a face to come back convincingly. The result will look like someone else.
- Heavy motion blur in the subject. If the camera caught the moment but the person was moving fast, no current tool reconstructs sharp eyes. It'll guess, and the guess will look uncanny.
- JPEG compression artifacts that have eaten the colors. If you can see chunky color blocks in the shadows, the source is too far gone. Upscaling will make those blocks bigger and crisper, not smaller.
Knowing what's recoverable saves you 20 minutes of fiddling with a photo that won't come back. Most photos do come back, though — the bar is lower than people assume.
One more thing: do this before your next phone upgrade
Here's the meta point. Your old photos are going to look worse next year, because next year's screen will be sharper than this year's. The displays keep improving, the photos don't. The longer you wait, the more obvious the gap gets — until eventually you stop scrolling back through your camera roll because it makes you sad.
Doing a one-time upscale pass on the photos that actually matter — say, your top 100 — buys you another five years of being able to share them without flinching. It's a tiny investment with a long shelf life.
You can drop a photo into our upscaler right now to see what comes back. Pick the photo from the trip you keep meaning to post and never do. If it cleans up, post it tonight. If it doesn't, at least you've tested the cheap version of the fix before spending an evening on it.