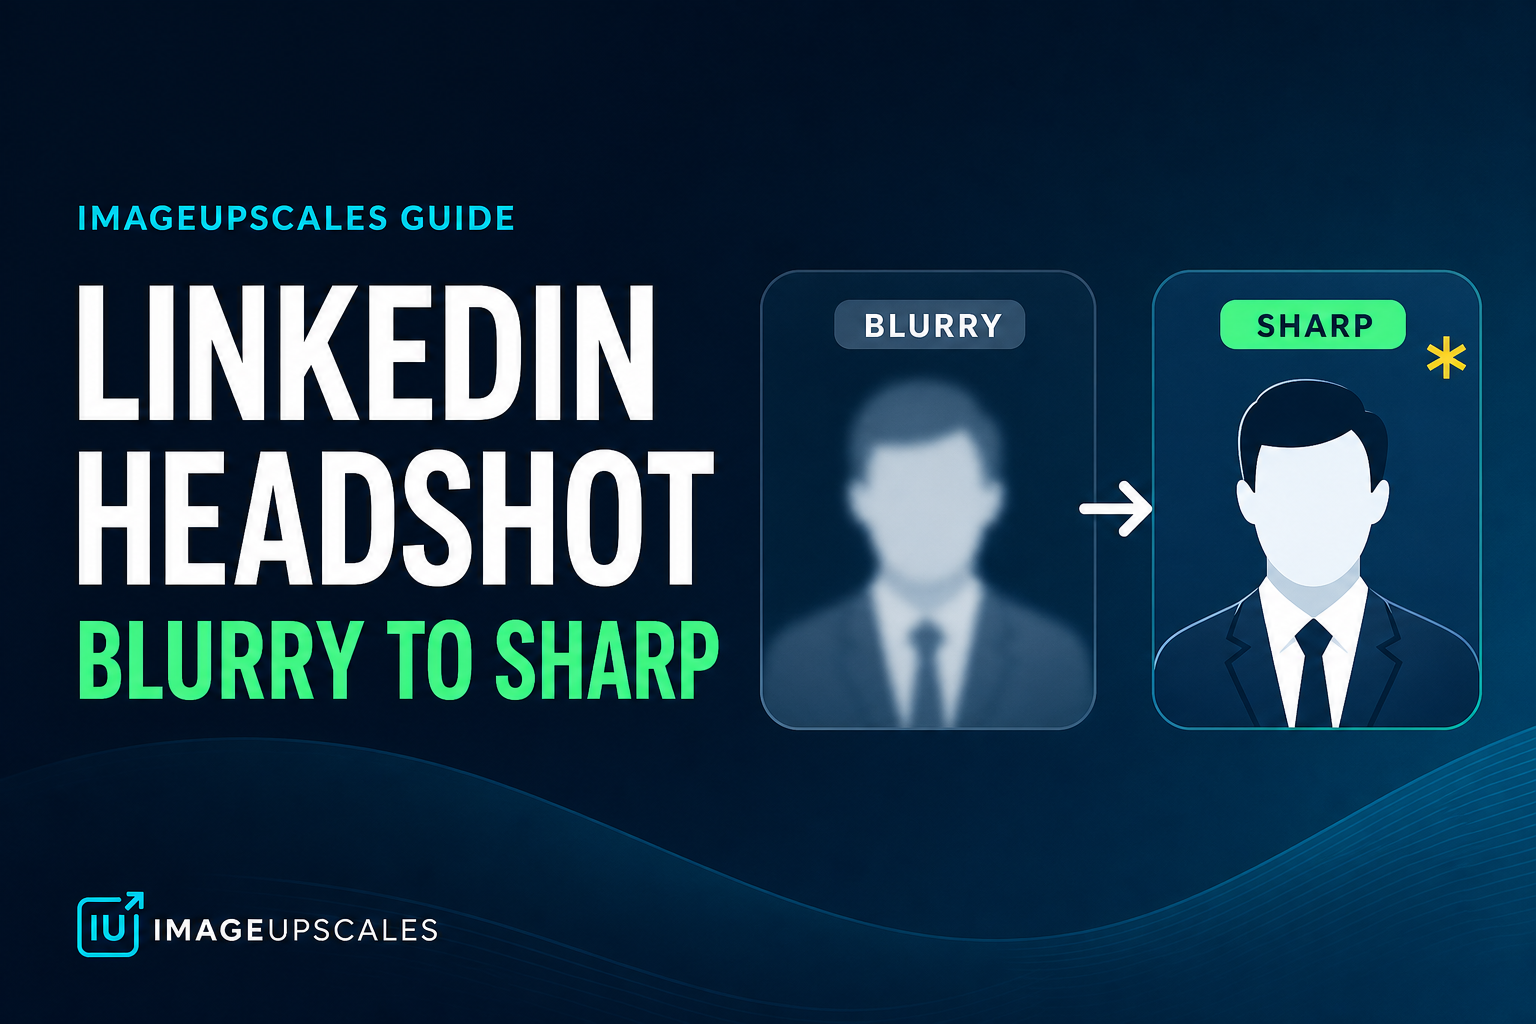
Real Estate Listing Photos: When to Upscale, When to Reshoot
Listing photos should reduce uncertainty, not invent a better property. Use this decision framework before publishing.

A listing photo should make a room easier to understand. It should not invent a room that does not exist.
The searcher needs a decision framework: save the current image with upscaling or reshoot before the listing goes live.
Seasonal publishing angle
This article is scheduled for the moment people are actively preparing these images, which helps it match seasonal search demand instead of chasing it late.

The decision that matters first
Upscale when the composition is honest and slightly soft. Reshoot when blur, darkness, blown windows, or misleading angles break trust.
Quick quality read
A practical workflow
Upscale when composition is right
If the room is framed well and only a little soft, upscaling can make it cleaner.
Reshoot when trust is broken
Severe darkness or misleading angles need a better capture.
Create room-specific exports
Kitchen, bathroom, exterior, and detail shots each need different crops.
Inspect lines and surfaces
Check cabinet edges, tile grout, window frames, and countertops.
Workflow map
Upscale when composition is right
If the room is framed well and only a little soft, upscaling can make it cleaner.
Reshoot when trust is broken
Severe darkness or misleading angles need a better capture.
Create room-specific exports
Kitchen, bathroom, exterior, and detail shots each need different crops.
Inspect lines and surfaces
Check cabinet edges, tile grout, window frames, and countertops.

What to avoid
- Using AI enhancement to hide property defects.
- Stretching a vertical phone photo into a wide listing format.
- Publishing soft thumbnails that lower perceived value.
The proof check
Good listing imagery reduces uncertainty about layout, light, condition, and finish quality.
Before you publish or print

Frequently asked questions
Should I always choose the largest upscale size?
No. Choose the smallest output that solves the real use case. Larger sizes are helpful for big prints and heavy crops, but they can exaggerate flaws from weak source files.
Can AI upscaling fix every blurry image?
No. It can improve many low-resolution or slightly soft images, but severe motion blur, missing faces, and heavy compression require realistic expectations.
What should I check after upscaling?
Inspect eyes, hands, text, product labels, straight edges, fabric, and any area that affects trust. If those areas hold up, the image is usually ready for its destination.
Sources and next step
The strongest image workflow is useful and truthful: it helps users decide faster without misleading them.
Upscale a listing hero image and compare cabinet edges, windows, and floor texture at the size buyers will actually see.
The decision tree
Reshoot when the lighting is wrong, the staging has changed, or the framing misses the room's strongest feature. Upscale when composition is correct but the file is small, soft, or compressed from email or MLS sync. The decision is rarely either-or — most listings benefit from upscaling the existing hero shots and reshooting the two or three rooms that fall short.
What upscaling can fix
- Files that came out of MLS at 1500px on the long edge.
- Phone shots that look fine on screen but pixelate in a printed flyer.
- Twilight exteriors that need to feel cinematic on a large display.
What upscaling cannot fix
- Bad framing — you cannot crop out a mirror reflection that is not there.
- Poor lighting — shadows on a face in a portrait will still look like shadows.
- Wrong staging — a couch in the wrong place is still in the wrong place.
Print versus screen
A flyer printed at 300 DPI on letter size needs roughly 2500x3300px on the image side. Most listing photos shipped through MLS arrive smaller than that. A 4K upscale gets you comfortably into print-quality territory without an extra shoot.
Trust signals matter more than perfection
Buyers can tell when a listing has been over-edited. Skies that are too blue, lawns that are too green, and rooms that look impossibly large all trigger skepticism. Upscaling raises resolution without changing the scene. That is exactly why it is the right tool for honest listings.
Related guides from ImageUpscales
- How to Unblur an Image with AI
- How to Zoom In on Photos Without Losing Quality
- How to Make Photo Quality Better
Frequently asked questions
Will buyers notice an upscaled listing photo?
Not in a good upscale. They will notice the difference if you skip it: a soft hero photo on the listing search page reduces click-through compared to a sharp one, even when the property is identical.
What about mobile MLS feeds?
Most mobile feeds compress images further. Your master should be high enough resolution that two rounds of compression — yours and the platform's — still produce a clean image at the size buyers actually see.
Can I upscale twilight or HDR shots?
Yes, with care. Twilight shots have a wide tonal range and noise in the sky. Use a moderate upscale, then check the sky for banding or color shifts before publishing.
A quick listing-photo checklist
- Hero shot is at least 4K on the long edge.
- Each room photo is sharp at 100% zoom.
- White balance is consistent across rooms.
- No fabricated detail in floors, fabrics, or trim.
- Print test for the flyer looks correct at 5x7.
Final word for agents
The fastest agents win on speed of listing, photo quality, and clear copy. Upscaling tackles the second of those three for free, in seconds, without an extra shoot. Use it as a default finishing step for every listing, and reserve reshoots for the rooms that genuinely need them. Buyers reward listings that look prepared without looking edited, and that balance is exactly what a careful upscale delivers.
If you only adopt one habit from this guide, make it this: never publish a listing whose hero photo is below 4K on the long edge. Everything else flows from that single rule.