How to Make Photo Quality Better with ImageUpscales
A practical walkthrough to make any photo look noticeably better using ImageUpscales’ fast AI upscaling—learn what 'better' means, step-by-step usage, and tips.
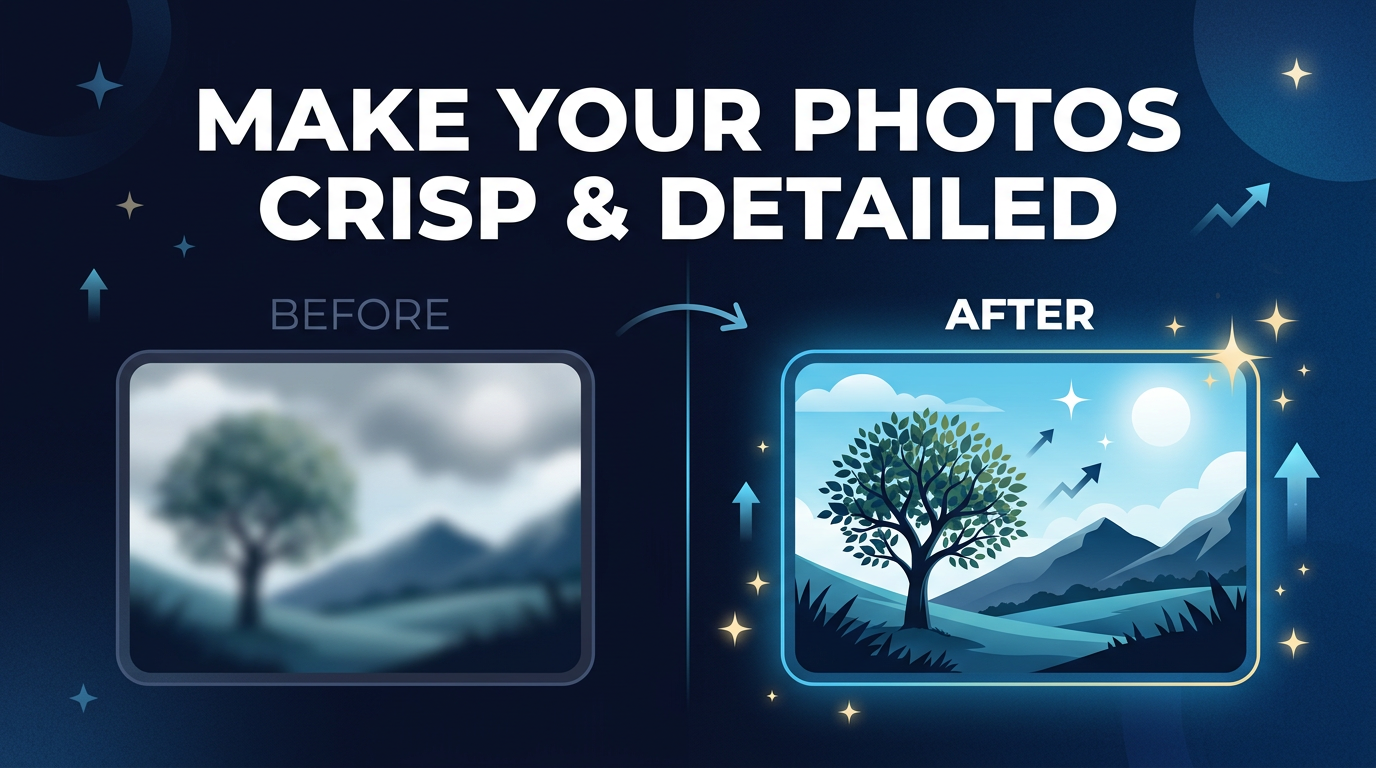
One quick fix can make a photo look, feel, and perform better across social, product pages, or prints. With AI tools like ImageUpscales, improving a photo’s quality is fast and surprisingly easy.
This guide walks through what "better quality" actually means, why ordinary resizing often hurts images, and a practical step-by-step using ImageUpscales to make photo quality better in seconds.
What "better quality" really means
Before you start enhancing photos, it helps to know what to aim for. "Better quality" usually touches four things:
Resolution
Resolution is the number of pixels across an image. Higher resolution gives you more detail and allows larger prints or sharper displays without visible pixels.
Sharpness & Detail
Sharpness describes how clearly edges and small features render. A technically sharp image reveals texture in hair, fabric, and fine print—details that make a photo read as high quality.
Color & Contrast
Colors, contrast, and tonal range affect how vibrant and true-to-life a photo looks. Improving color balance and contrast can make an image feel more professional even if resolution stays the same.
Noise & Artifacts
Noise (grainy speckles) and compression artifacts degrade perceived quality. Reducing noise while keeping detail is crucial for a clean, polished result.
Why traditional resizing often makes photos worse
Dragging a photo’s size slider in an editor or using a basic "upscale" tool often just stretches pixels or applies blunt interpolation (nearest neighbor, bilinear, bicubic). That produces blurry, soft, or blocky results because no new detail is created—pixels are simply averaged or duplicated.
For real improvement you need reconstruction: restoring or synthesizing plausible detail, not just stretching what’s already there. That’s where modern AI upscalers like ImageUpscales differ.
How ImageUpscales improves photos
ImageUpscales uses AI-driven upscaling to make photo quality better by reconstructing details when you scale an image 2x or 4x. Key benefits:
- Detail reconstruction: the model predicts and restores fine textures and edges instead of merely stretching pixels.
- Specialized presets: optimized modes for portraits, products, artwork, and general photos so results match the subject.
- Fast, no-install workflow: runs in seconds in your browser—no software installs required.
- Preview before you download: compare before/after results and choose the best settings.
Step-by-step: Make photo quality better with ImageUpscales
-
Open ImageUpscales
Go to ImageUpscales and choose the upscaling tool. The interface is built for quick results—ideal when you need to move from a low-res file to a production-ready image fast.
-
Upload your photo
Drag-and-drop or select the image. ImageUpscales accepts common formats (JPEG, PNG, etc.) and handles compressed files gracefully.
-
Pick a preset
Choose the preset that matches the subject: General for mixed images, Portrait for faces and skin tones, Product for ecommerce shots (keeps edges crisp), or Art for paintings and illustrations.
-
Choose scale & options
Select 2x or 4x depending on how much resolution you need. For subtle improvements or small crops, 2x is often perfect; choose 4x for large prints or substantial crops.
-
Preview and compare
Use the side-by-side preview to inspect sharpness, color, and noise. Toggle the preset if results aren’t ideal—previewing prevents wasted downloads.
-
Download
When you’re happy, download the upscaled image. ImageUpscales delivers high-quality files suitable for web, print, or further editing.
Tips for best results
- Start with the best source you have: a well-exposed, in-focus original will upscale far better than a blurry, badly lit photo.
- Avoid stacking multiple upscales: upscaling the same file repeatedly can introduce artifacts. Export a high-resolution master instead.
- Choose the right preset: Portrait preserves skin tones, Product enhances edges—matching the preset to the content matters.
- Crop before you upscale when possible: focusing on the subject reduces processing time and preserves maximum detail where you need it.
- Perform color and finishing edits after upscaling: subtle sharpening, contrast, or color adjustments on the final large file will look better than doing them on the small original.
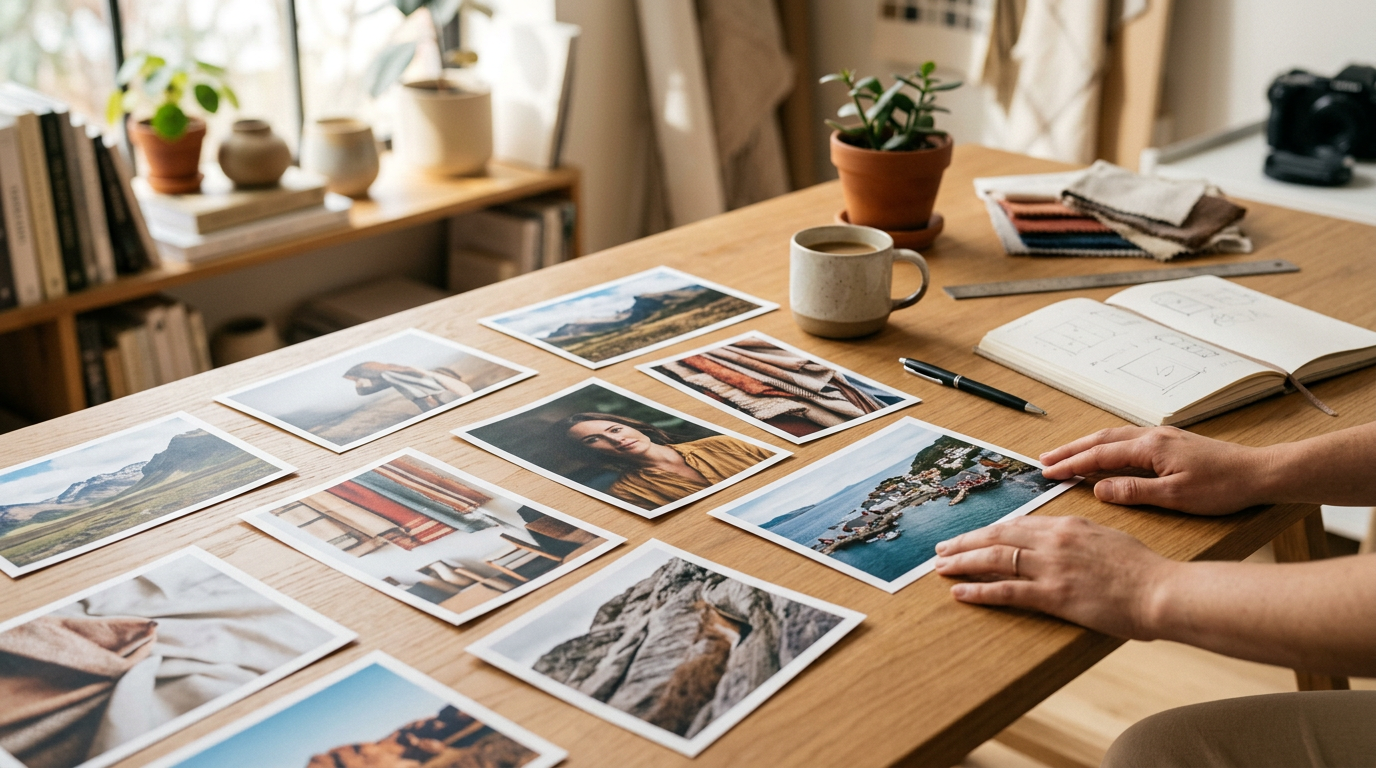
Practical use cases
Here are common scenarios where ImageUpscales helps you make photo quality better:
Ecommerce product photos
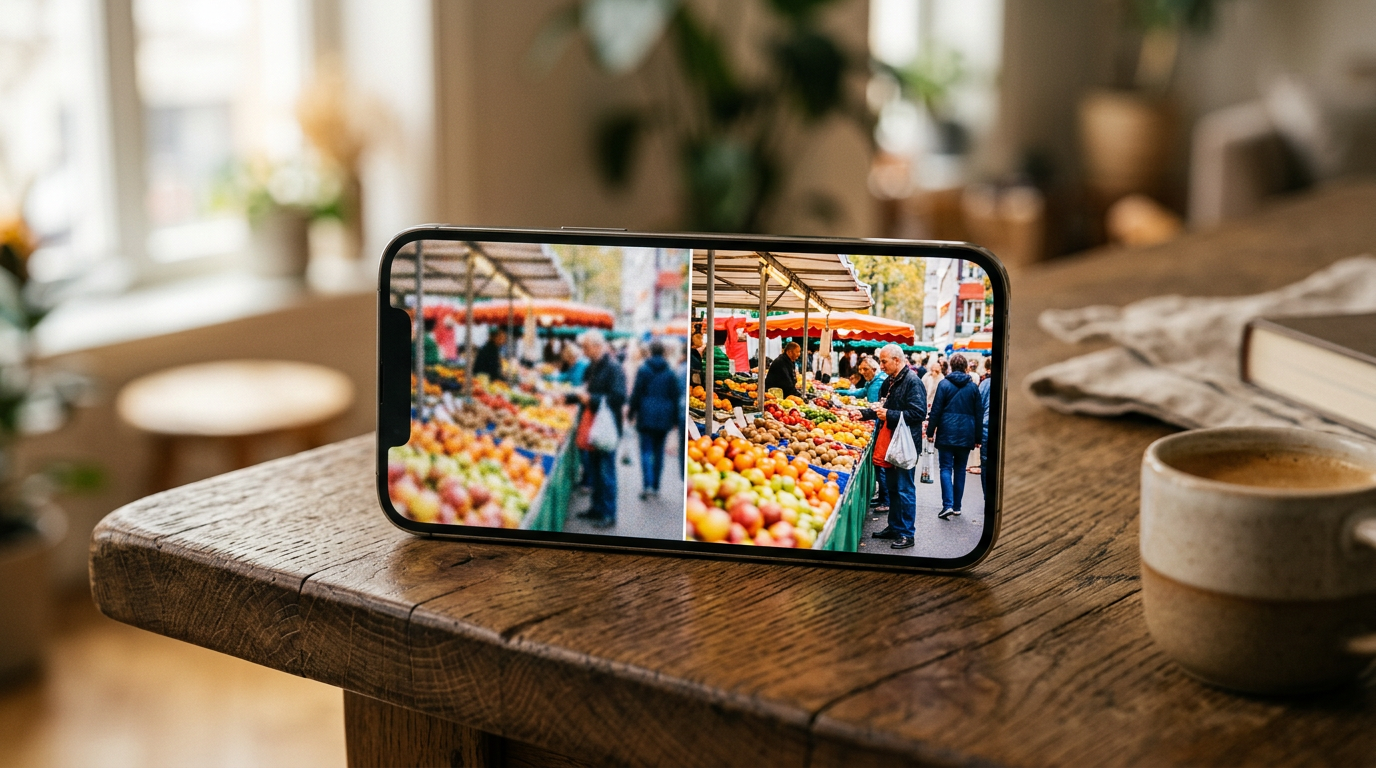
Upscale thumbnails or seller photos to create crisp product images that display well on zoom and in hero shots—better detail builds trust and reduces returns.
Social media and content
Turn casual smartphone shots into polished posts. Use ImageUpscales to make key images pop in feeds and on profile covers.
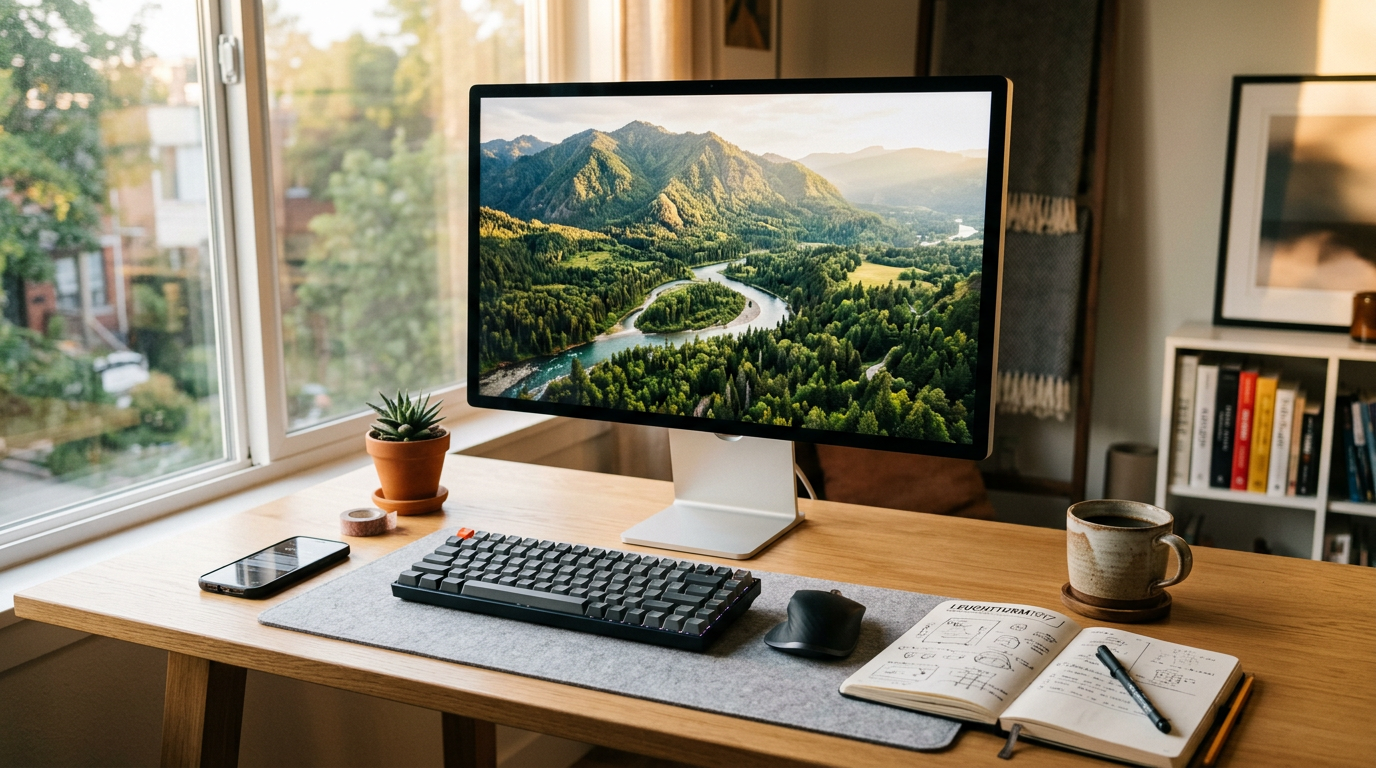
Print and large-format
Convert digital photos for posters, canvas prints, or photobooks. ImageUpscales’ 4x option gives the extra pixels needed for clean prints.
Photo restoration and archiving
Bring scanned old photos back to life—better resolution and noise control make faces and details readable again without creating fake or unnatural results.
Frequently Asked Questions
Can ImageUpscales turn a tiny photo into a high-quality print?
Yes—AI upscaling can produce great results for prints, particularly at 4x. Success depends on the original’s focus and exposure; upscaling helps most when the source retains clear shapes and tones.
How long does the upscaling process take?
Most images process in seconds to a minute, depending on size and chosen scale. ImageUpscales is optimized for speed so you can preview quickly and iterate.
Will upscaling introduce artifacts?
AI reconstruction can sometimes create minor artifacts, especially from very low-quality inputs. Using the right preset and previewing results minimizes surprises. Avoid repeated upscaling of the same file.
What file types and sizes are supported?
ImageUpscales supports common image formats like JPEG and PNG. For very large files, the web tool accepts high-res uploads—check the pricing page for any limits on free vs. paid plans.
Is any software required?
No—ImageUpscales runs in your browser so there’s nothing to install. That makes it quick to try and easy to integrate into your workflow.
Conclusion
Making photo quality better is both an art and a process. Understanding resolution, sharpness, color, and noise helps you choose the right approach—and tools like ImageUpscales make the technical part fast and reliable. Whether you’re preparing ecommerce images, polishing social posts, or producing prints, a few smart upscales and the right presets will get professional-looking results in minutes.
Try ImageUpscales today to see how quickly your images can improve.