How to Restore Old Family Photos with AI
A practical, step-by-step guide to restoring vintage family photos using AI. Learn what causes damage, how to scan, repair, colorize, and upscale prints with ImageUpscales.
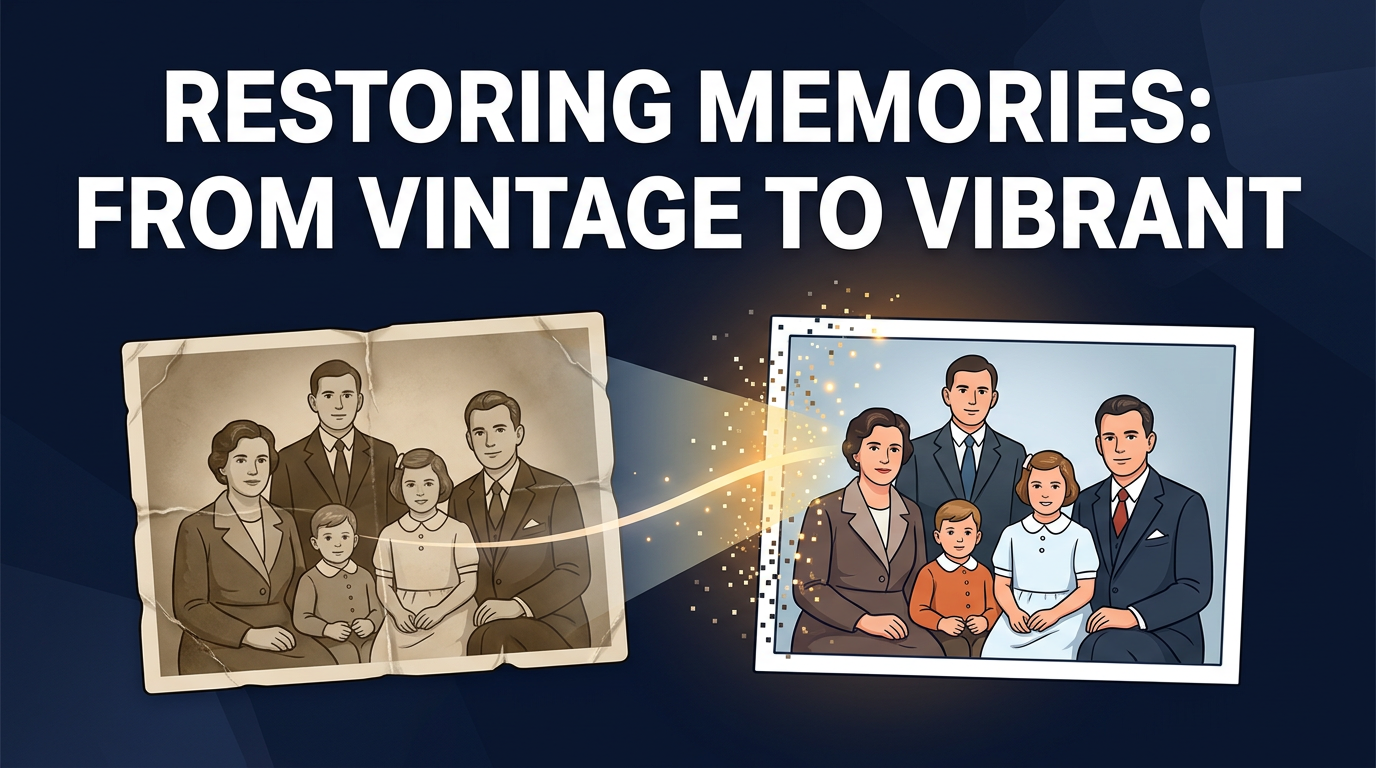
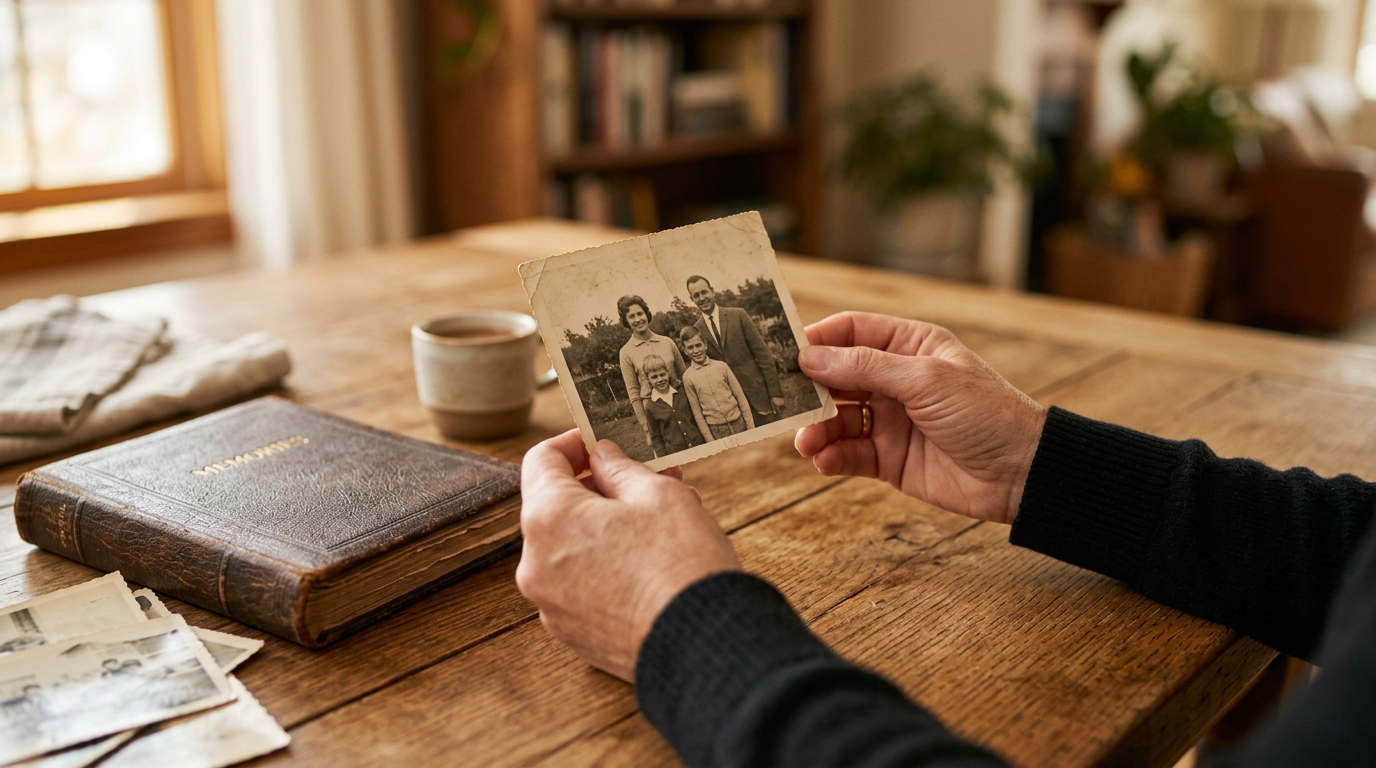
Old family photos are emotional anchors — a cousin's laugh, a grandparent's expression, a long-ago kitchen table. When those images fade, tear, or blur, the loss feels personal. Thankfully, modern AI tools make it possible to restore many of those moments with careful scanning, smart repair, and faithful upscaling.
This guide walks you through why photos degrade, how AI differs from traditional restoration, and a practical step-by-step workflow to get the best results. I'll also share tips to preserve authenticity and creative ideas for sharing restored images with relatives.
Why Old Photos Degrade
Understanding what happened to a photo helps you choose the right restoration steps.
- Fading: Chemical reactions and sunlight can wash out tones, especially in color prints.
- Scratches and tears: Physical handling often leaves surface scratches, creases, and missing pieces.
- Water damage and stains: Moisture can cause discoloration, warping, and mold spots.
- Color shifts: Older color prints may shift toward magenta or green as dyes degrade.
- Low resolution: Small prints or early scans can lack detail, making them poor candidates for large prints without upscaling.
Traditional Restoration vs. AI Tools
Professional restorers and Photoshop techniques remain excellent for complex, delicate jobs — they give you total control and a human eye for historical accuracy. But AI tools bring speed and accessibility:
- Photoshop / manual repair: Best for hands-on control, complex reconstruction, or archival work. Requires skill and time.
- Hiring a pro: Ideal for priceless originals or major physical damage; professionals can also match historical styles.
- AI restoration: Quickly reduces noise, removes scratches, and fills small gaps. Modern AI can also colorize and upscale images to print-ready sizes with impressive consistency.
AI Restoration Workflow: Step by Step
Follow this order to get clean, high-resolution results while keeping your original intact.
1. Scan with care
Scan the photo at the highest optical resolution your scanner allows. Save a master copy in a lossless format like TIFF or PNG. If possible, scan at 300–600 DPI for small prints; use 1200 DPI or higher for tiny negatives or to capture texture for restoration.
2. Preserve the original
Always work on copies. Keep the original negative or print in archival sleeves and store it away from light and humidity.
3. Clean and repair with AI tools
Use an AI-powered restoration tool to remove dust, scratches, and speckle noise. These tools can reconstruct missing pixels and smooth creases. Start with conservative settings to avoid over-smoothing fine details like hair or fabric texture.
4. Optional colorization
If you want to colorize a black-and-white portrait, use an AI colorizer as a separate step. Treat the result as a creative interpretation — AI guesses skin tones, clothing colors, and background hues. If historical accuracy matters, research family records or consult relatives before finalizing colors.
5. Upscale for print
After cleaning and optional colorization, upscale the image to the size you need. This is where ImageUpscales shines: it increases resolution without inventing unrealistic details, producing print-ready images that retain the subject’s character. Aim for 300 DPI at your target print size for the best results.
6. Final touch-ups
Make any last adjustments — contrast, exposure, or selective sharpening. If you used colorization, fine-tune skin tones and color balance. Save a high-resolution master file and export copies for printing and sharing.
Practical Tips and Best Practices
- Start conservative: Less is often more. Over-processing can remove the texture and mood that make vintage photos special.
- Keep versions: Save each major step as a separate file so you can revert or compare different approaches.
- Mind artifacts: AI can introduce halos or unnatural smoothing. Zoom in and inspect corners, hairlines, and faces closely.
- Print test strips: Before committing to a large print, print a small section at full size to check detail and color.
- Preserve context: When restoring group photos or documents, retain any handwritten notes or borders that add historical value.
What to Expect — Realistic Results
AI is powerful but not magical. It excels at removing surface blemishes, reducing noise, and enlarging images with plausible detail, but it can't recreate information that never existed. Expect dramatic clarity and improved texture in most cases, but accept that some lost facial detail or background elements may remain uncertain. Treat AI results as restorations, not exact recreations.
Gift Ideas: Share Restored Memories
Restored photos make meaningful gifts. Consider:
- Framing a restored portrait for a grandparent's birthday or anniversary.
- Creating a photo book that pairs originals with restored versions and short family stories.
- Making a digital slideshow or video montage to share at reunions.
Using ImageUpscales to produce high-resolution prints ensures the images look crisp in frames and albums. Its upscaling preserves the original look while making photos suitable for larger displays.
Frequently Asked Questions
Q: How should I scan fragile photos?
A: Use a flatbed scanner with a gentle lid or a professional scanning service for delicate items. If the photo is brittle, place it face-up on the glass and avoid pressing down. High-resolution scans (300–1200 DPI) are best; save masters as TIFF or PNG.
Q: Can AI repair tears and missing pieces?
A: AI can convincingly fill small gaps and blend edges, but large missing areas may require manual retouching or the help of a professional restorer to maintain authenticity.
Q: Will AI change people's faces or invent features?
A: Good AI tools aim to restore plausible detail, not invent new faces. However, aggressive settings or some colorization models may alter appearances subtly. Always compare to the original and choose conservative settings when historical accuracy matters.
Q: What file format is best for saving restored images?
A: Save your working files in a lossless format like TIFF or PNG. For sharing or printing, high-quality JPEGs are acceptable, but keep a TIFF master for future edits.
Q: Can I print large posters from old photos?
A: Often yes, especially after upscaling with a dedicated tool. Aim for 300 DPI at the target size for the best print quality. ImageUpscales helps enlarge images while preserving natural detail for large prints.
Conclusion
Restoring family photos with AI is both practical and emotional: you can bring back faces and moments with care, while preserving the original character of each image. Start with careful scanning, use AI tools to clean and optionally colorize, and rely on ImageUpscales to make your photos print-ready at high resolutions. With gentle handling and a few thoughtful choices, you can create keepsakes that will be treasured for generations.