Mother's Day Photo Restoration: Fix Blurry Family Photos Before You Print
A Mother's Day photo gift should feel real, not over-processed. Here is how to restore old or blurry family photos before printing.
A family photo gift fails when it looks over-processed. The goal is not to make an older snapshot look like a studio portrait.
The searcher needs to know what can be restored quickly and what should be scanned again before they waste time on the wrong file.
Seasonal publishing angle
This article is scheduled for the moment people are actively preparing these images, which helps it match seasonal search demand instead of chasing it late.

The decision that matters first
Gift photos need face clarity, clean contrast, and believable texture. A little age is good. Fake skin, invented eyes, or erased grain can make the gift feel less personal.
Quick quality read
A practical workflow
Find the highest-generation file
Use the original scan, camera roll file, or emailed attachment instead of a message preview.
Remove avoidable damage first
Straighten, crop borders, and reduce glare before upscaling.
Upscale for the gift size
Use 2K or 4K for small frames and 6K only for larger gifts with enough source detail.
Keep the historical texture
Preserve some grain so the image still feels like the original memory.
Workflow map
Find the highest-generation file
Use the original scan, camera roll file, or emailed attachment instead of a message preview.
Remove avoidable damage first
Straighten, crop borders, and reduce glare before upscaling.
Upscale for the gift size
Use 2K or 4K for small frames and 6K only for larger gifts with enough source detail.
Keep the historical texture
Preserve some grain so the image still feels like the original memory.

What to avoid
- Using a photo of a photo with window glare.
- Restoring a heavily compressed social download.
- Removing all grain until the image looks fake.
The proof check
For gift prints, perceived quality is driven more by face clarity and stable edges than raw pixel count.
Before you publish or print

Frequently asked questions
Should I always choose the largest upscale size?
No. Choose the smallest output that solves the real use case. Larger sizes are helpful for big prints and heavy crops, but they can exaggerate flaws from weak source files.
Can AI upscaling fix every blurry image?
No. It can improve many low-resolution or slightly soft images, but severe motion blur, missing faces, and heavy compression require realistic expectations.
What should I check after upscaling?
Inspect eyes, hands, text, product labels, straight edges, fabric, and any area that affects trust. If those areas hold up, the image is usually ready for its destination.
Sources and next step
Helpful image content should be specific to the job: source, output size, inspection points, and a truthful result.
Test one meaningful family photo now, then print the version that still feels like the original memory.
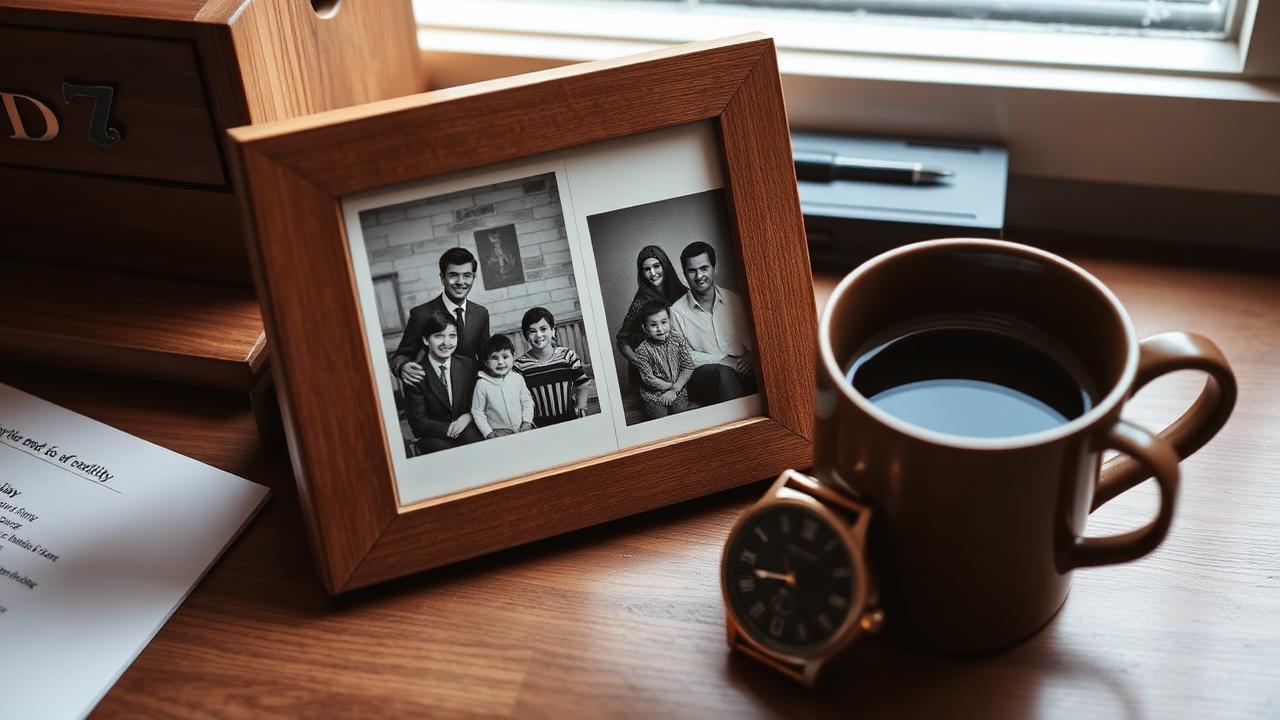
Why restored family photos feel right
A Mother's Day photo gift carries a different kind of weight than a birthday or anniversary gift. The image is the gift. Anything that gets between the moment and the viewer — heavy filters, fake colors, plasticky skin — undermines the entire point. Restoration is the discipline of removing distractions while keeping the moment intact.
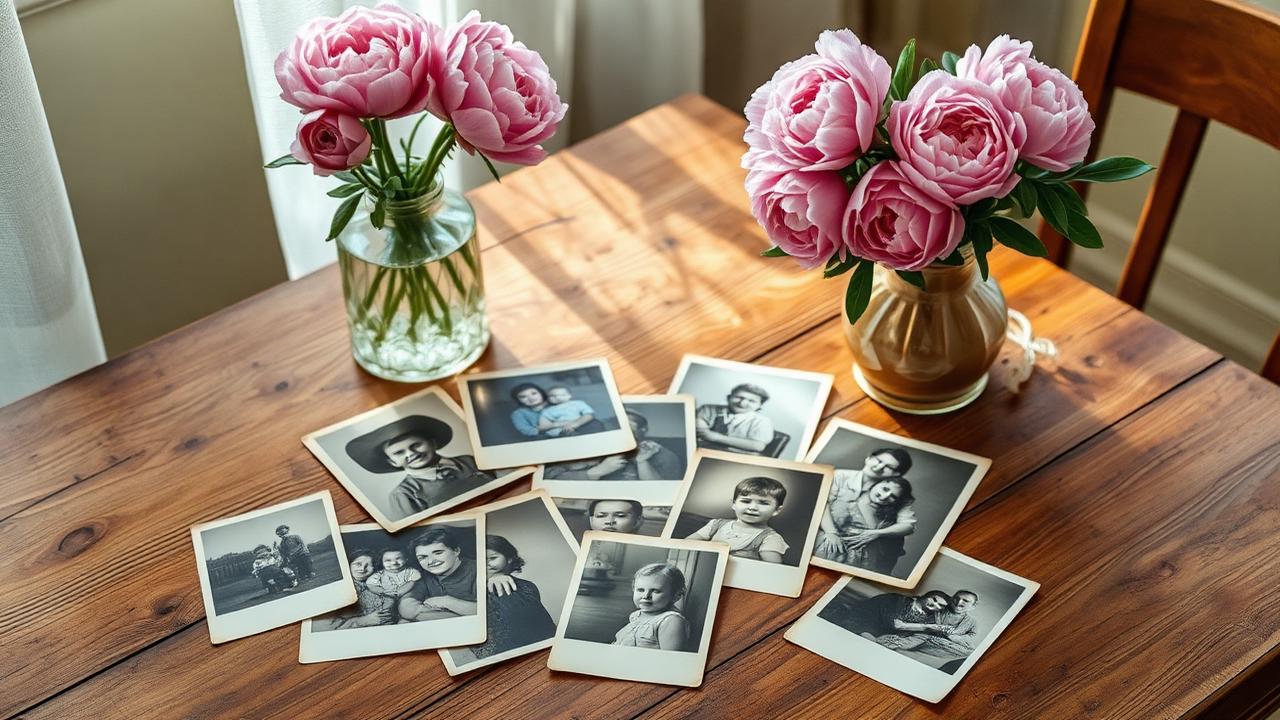
The three sources you'll work with
- Old prints. Faded, sometimes torn, sometimes water-stained.
- Old digital files. JPEGs from a 2008-era point-and-shoot. Small, slightly soft, often noisy in shadows.
- Phone screenshots. The worst-case input. Possible to rescue if you set expectations.
What honesty looks like in practice
You can fix focus softness, mild noise, and resolution. You should not fabricate teeth, eyes, or jewelry that aren't visibly present in the original. The test is simple: would the person in the photo recognize themselves?
A 20-minute restoration workflow
Scan or pull the file. Crop to the composition you actually want printed. Run a 4K upscale. Inspect faces and hands at 100%. Print a small test at 4x6. If it holds up at small size, scale to 8x10 or 11x14 with confidence.
Print before you wrap
The single biggest mistake is judging a restored photo on a phone screen. Phone screens are bright, contrasty, and small. A good restoration sometimes looks unimpressive on a phone and beautiful in print. Always run the test print before deciding the project is done.
Related guides from ImageUpscales
Frequently asked questions
What if the only copy I have is a Facebook download?
Facebook strips a surprising amount of detail. Ask the original poster for the file from their camera roll. If it is genuinely lost, a 4K upscale of the Facebook copy is still better than printing the source — but set expectations before printing large.
Should I colorize black-and-white photos?
Only if your mom would have preferred it. Many people prefer the original black-and-white because it matches the era. If you are unsure, print both and let her pick.
What size should I print for a Mother's Day gift?
An 8x10 print on lustre paper is the safest default. It is large enough to be a real gift, small enough to fit on a shelf or hallway wall, and forgiving on slightly soft sources.
A simple gifting checklist
- Pick a moment, not a perfect photo.
- Scan or pull the highest-quality file you can find.
- Run a 4K upscale and audit at 100%.
- Print a small test before committing to the gift size.
- Match frame and matte to where it will hang.