How to Make Blurry Photos Clear Without Making Them Look Fake
Clearer is not the same as harsher. The goal is to make a photo easier to use without turning it into something artificial.

Most people do not need a perfect photo. They need the face to read clearly, the product to look trustworthy, or the memory to hold up when it is printed.
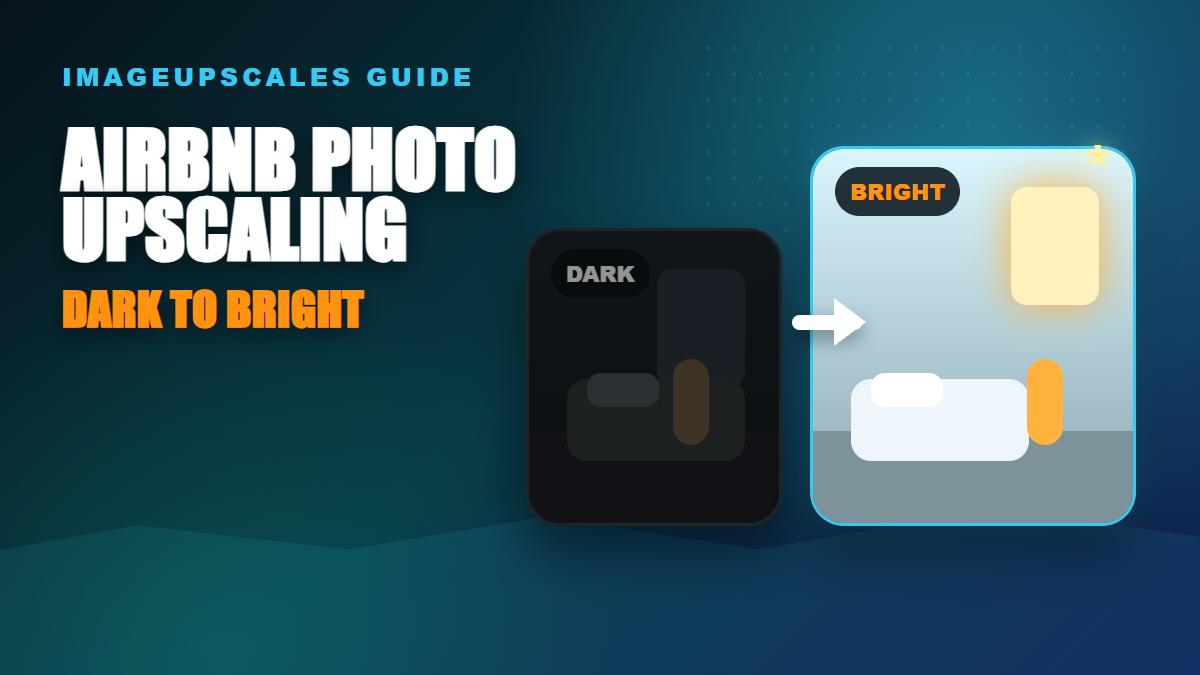
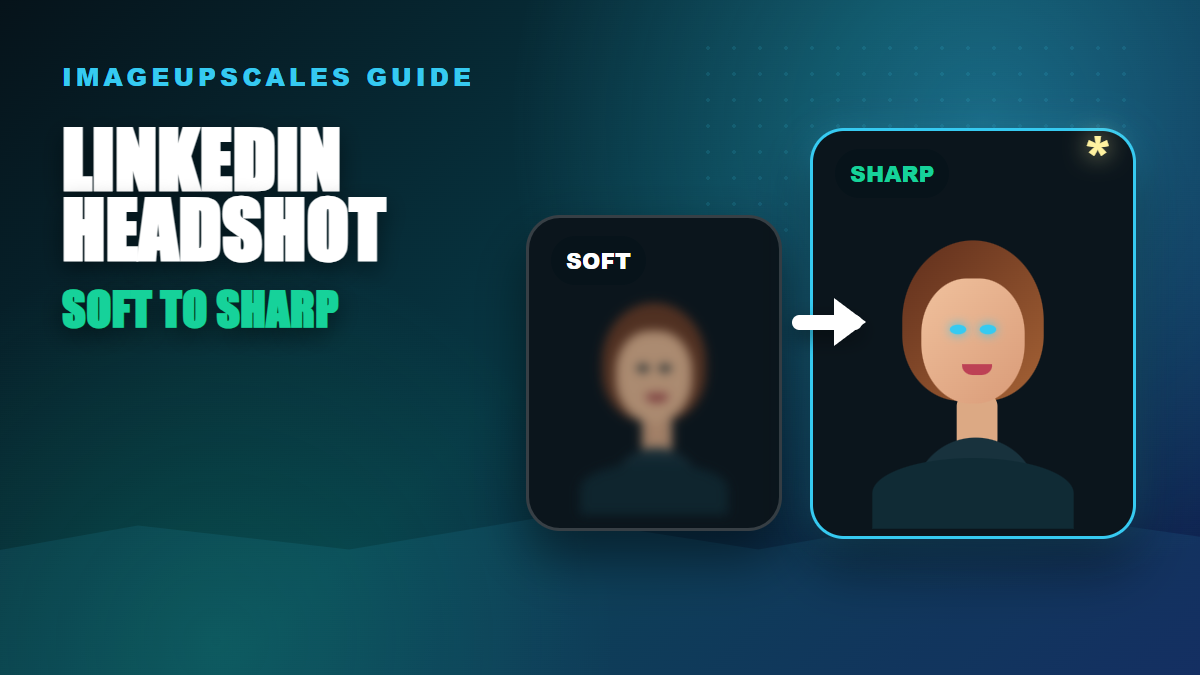
Usually, the real question is a practical rescue: can this soft photo be improved enough for a profile, family print, marketplace image, or website section?
Seasonal publishing angle
This article is scheduled for the moment people are actively preparing these images, which helps it match seasonal search demand instead of chasing it late.

Start with the real decision
Before you enhance anything, identify the blur type. Low resolution, compression, and slight softness usually respond well to AI upscaling. Severe motion blur or a tiny face crop needs more caution.
Quick quality read
The workflow I would use
Start with the least damaged file
Find the original upload, camera roll image, or full email attachment before using a social-media download.
Use a moderate upscale first
A 4K result is often cleaner and more believable than forcing every weak image to 8K.
Check natural texture
Skin, fur, fabric, and foliage should look clearer without becoming waxy or crunchy.
Compare before you replace
Keep the original open and make sure the AI result improves the photo without changing the story.
Workflow map
Start with the least damaged file
Find the original upload, camera roll image, or full email attachment before using a social-media download.
Use a moderate upscale first
A 4K result is often cleaner and more believable than forcing every weak image to 8K.
Check natural texture
Skin, fur, fabric, and foliage should look clearer without becoming waxy or crunchy.
Compare before you replace
Keep the original open and make sure the AI result improves the photo without changing the story.

Mistakes that make the result look cheap
- Stacking multiple enhancers until the image looks oversharpened.
- Using the largest output size as a substitute for a better source.
- Ignoring tiny artifacts around eyes, teeth, fingers, logos, and hair.
The proof check before you publish
A clear photo should still feel like the same photo. If the enhancement changes identity, product details, or important context, the result is not trustworthy enough to publish.
Before you publish or print

Frequently asked questions
Should I always choose the largest upscale size?
No. Choose the smallest output that solves the real use case. Larger sizes are helpful for big prints and heavy crops, but they can exaggerate flaws from weak source files.
Can AI upscaling fix every blurry image?
No. It can improve many low-resolution or slightly soft images, but severe motion blur, missing faces, and heavy compression require realistic expectations.
What should I check after upscaling?
Inspect eyes, hands, text, product labels, straight edges, fabric, and any area that affects trust. If those areas hold up, the image is usually ready for its destination.
One last practical note
The strongest photo-quality workflow is specific: diagnose the defect, choose the smallest useful output, and inspect the places where people notice mistakes first.
Upload the blurry photo to ImageUpscales, try 4K first, and judge the result by face clarity, edge stability, and final display size.